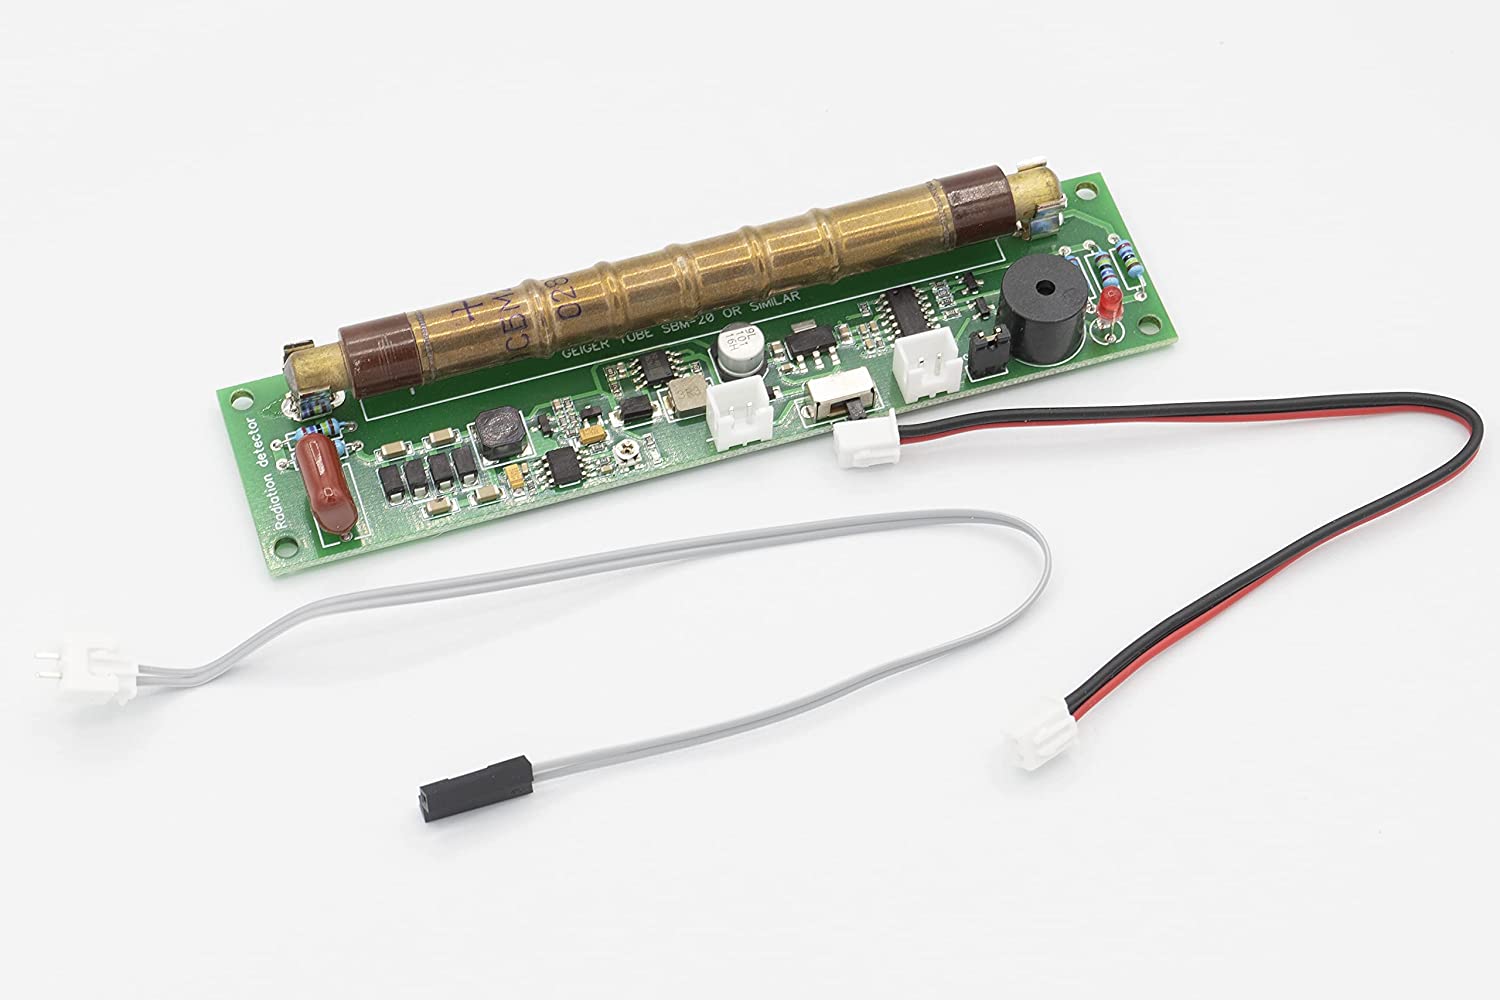
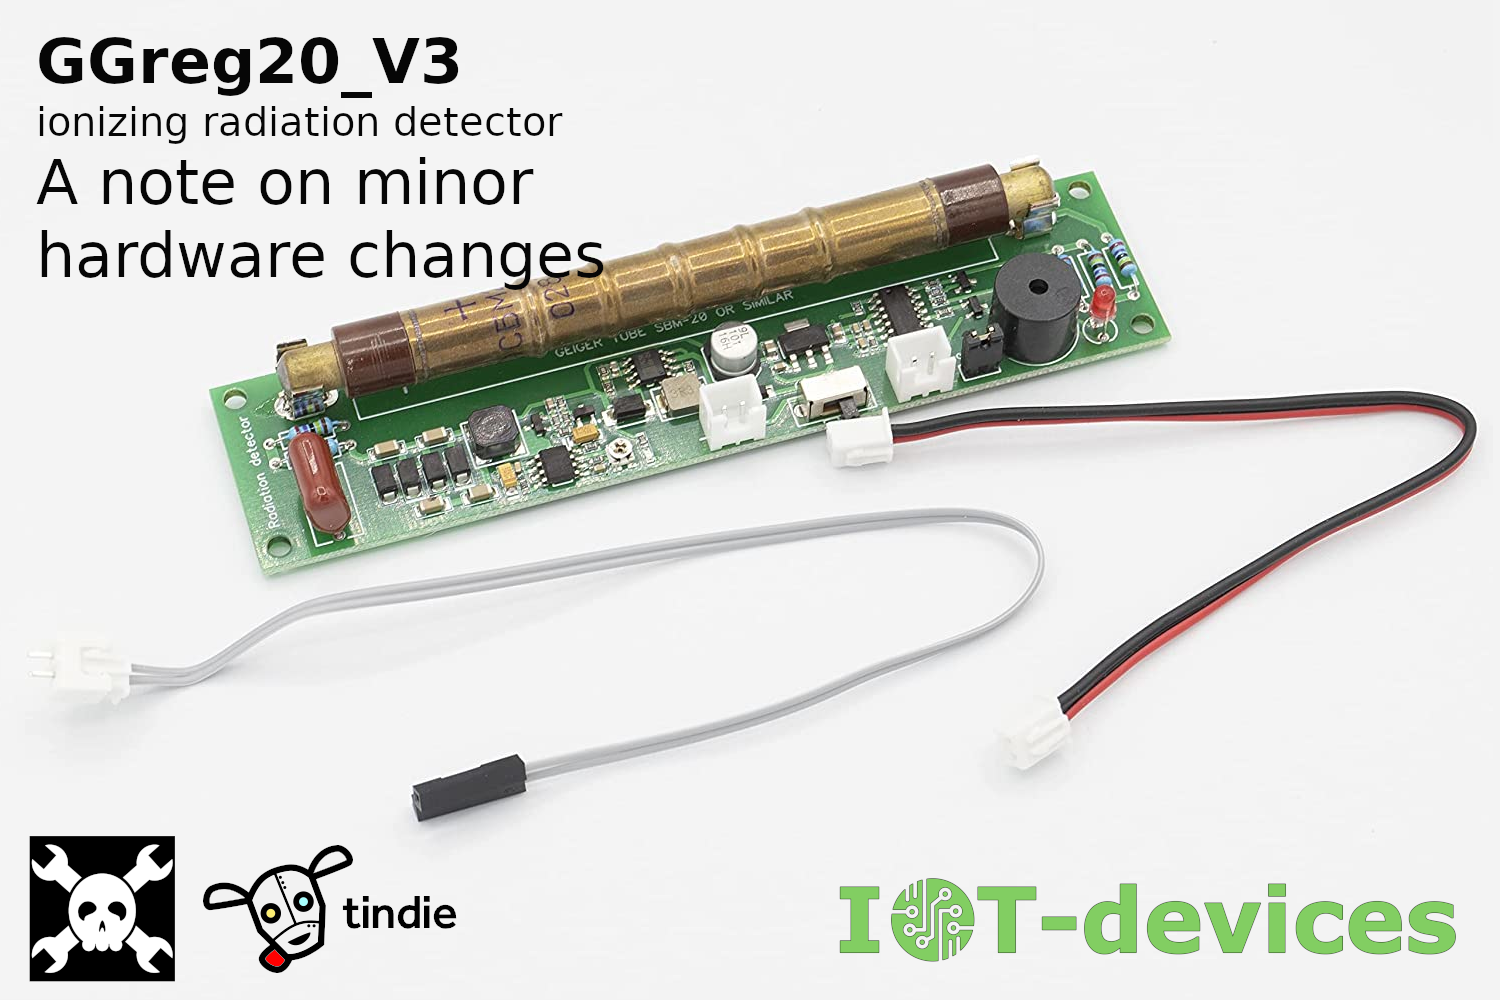
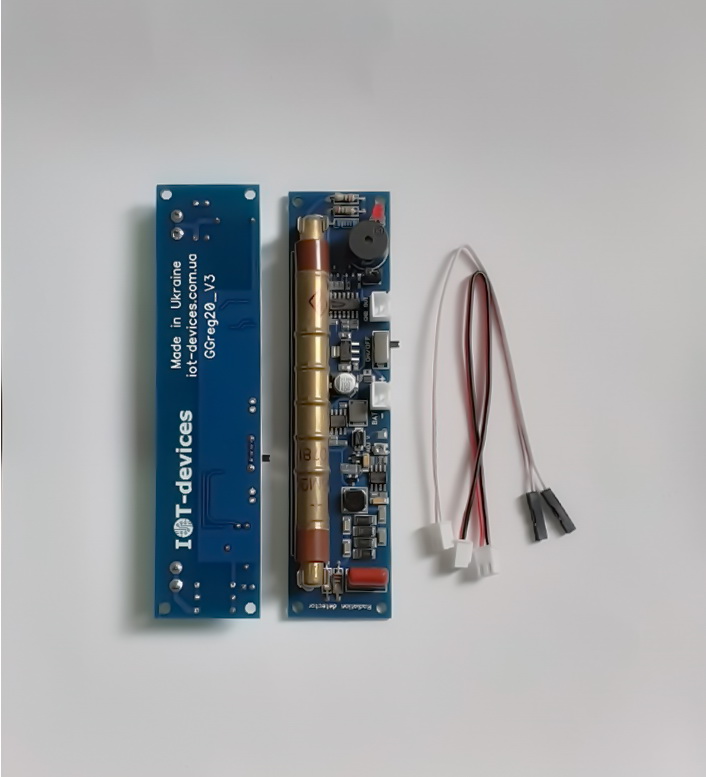
They write about our GGreg20_v3 module on Twitter
Our clients spoke about the features of using the GGreg20_v3 module. We are grateful for the high rating: https://twitter.com/sboger/status/1588745017497358336?s=20&t=q6ngn3ruRvlof3YbRPChCg
Thanks to our customers, we collected some statistics and received feedback on the different modes of use of our GGreg20_V3 Geiger counter module by users and came to the conclusion…
We offer you the the last, third part of the description of the procedure of connecting the detector (sensor) GGreg20 in combination with the main controller ESP8266 or ESP32 to…
We offer you the second part of the description of the procedure of connecting the detector (sensor) GGreg20 in combination with the main controller ESP8266 or ESP32 to the Home…
We offer you the procedure of connecting the GGreg20 Geiger counter (sensor) in combination with the main controller ESP8266 or ESP32 to the Home Assistant server via the ESP Home…
може сховати лістинг у акордеон?
####### ggreg20_esp8266_esphome.yaml #####
esphome:
name: esphome_node1 # Controller Unique Name
platform: ESP8266 # Platform type you have to select when creating new yaml-config in ESP Home
board: nodemcuv2 # Controller type you have to select when creating new yaml-config in ESP Home
wifi:
ssid: "YourWiFiSSID"
password: "SSIDPassword"
# Enable fallback hotspot (captive portal) in case wifi connection fails
ap:
ssid: "Esphome Node1 Fallback Hotspot"
password: "Cpxg9hRIBU7M"
captive_portal:
# Enable logging
logger:
# Enable Home Assistant API
api:
password: "APIpassword"
ota:
password: "OTApassword"
# Just embedded test D3 (GPIO0) button on every ESP8266 Devboard
# You can press D3 button several times to simulate incoming GGreg pulses
binary_sensor:
- platform: gpio
name: "D3 Input Button"
pin:
number: 0
inverted: True
mode: INPUT_PULLUP
# Here we calc and include to the firmware a power and doze values of ionizing radiation as sensor outputs
sensor:
- platform: pulse_counter
pin: D3
unit_of_measurement: 'mkSv/Hour'
name: 'Ionizing Radiation Power'
count_mode:
rising_edge: DISABLE
falling_edge: INCREMENT
update_interval: 60s
accuracy_decimals: 3
id: my_doze_meter
filters:
- sliding_window_moving_average: # 5-minutes moving average (MA5) here
window_size: 5
send_every: 5
- multiply: 0.0054 # SBM20 tube conversion factor of pulses into mkSv/Hour
- platform: integration
name: "Total Ionizing Radiation Doze"
unit_of_measurement: "mkSv"
sensor: my_doze_meter # link entity id to the pulse_counter values above
icon: "mdi:radioactive"
accuracy_decimals: 5
time_unit: min # integrate values every next minute
filters:
- multiply: 0.00009 # obtained doze (from mkSv/hour into mkSv/minute) conversion factor: 0.0054 / 60 minutes = 0.00009; so pulses * 0.00009 = doze every next minute, mkSv.
####### END of ggreg20_esp8266_esphome.yaml #####