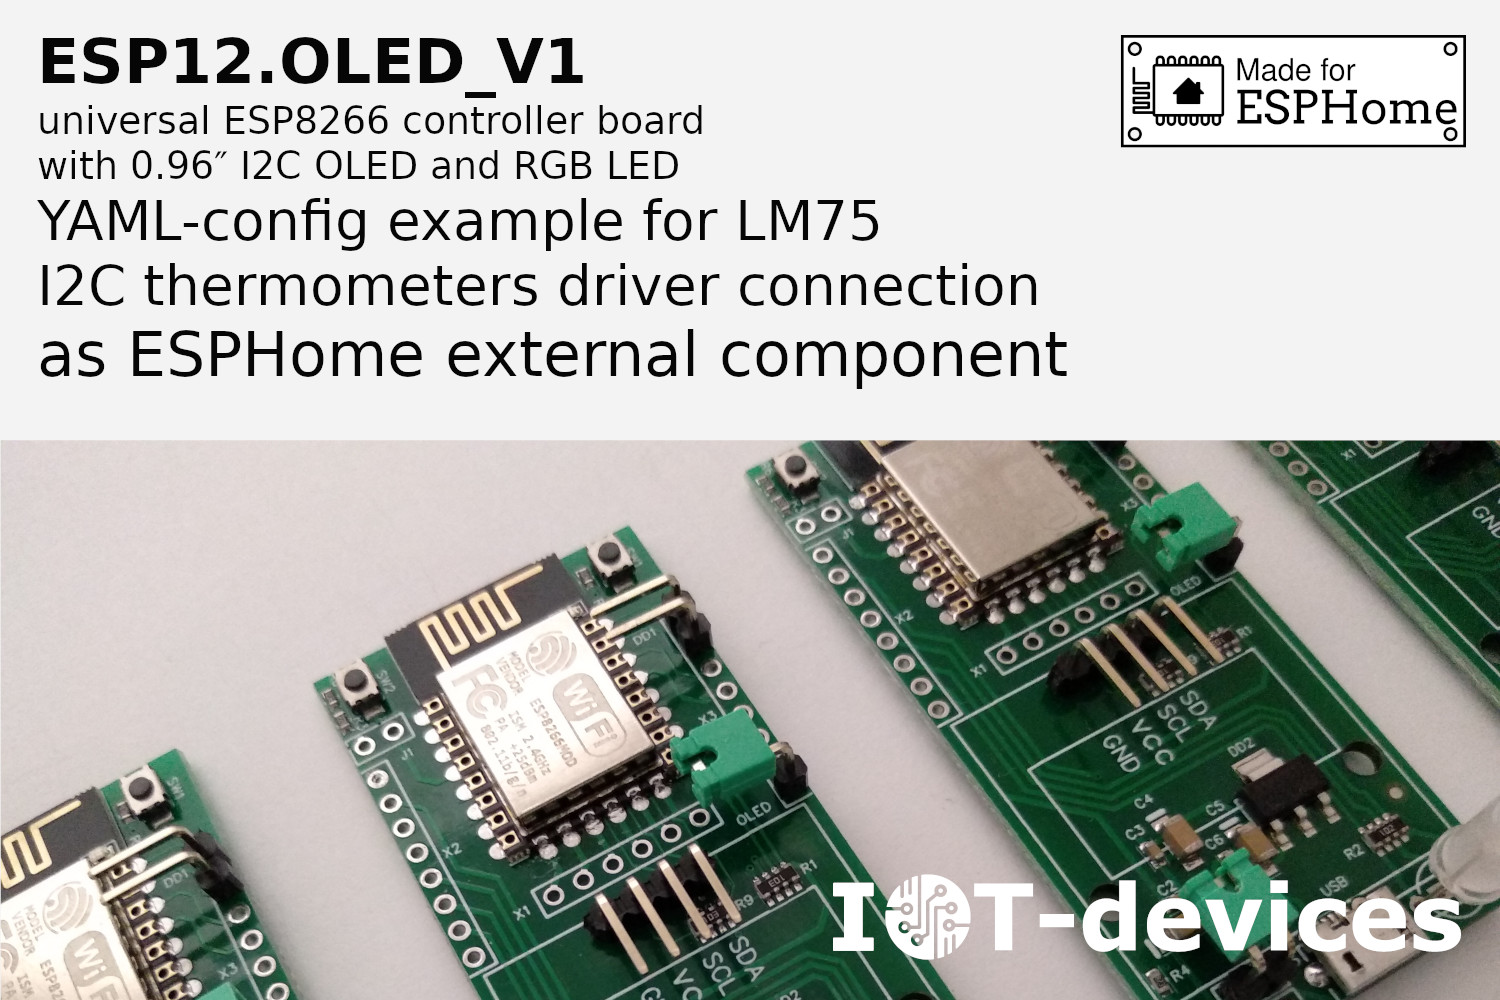
LM75 thermometer: connection to ESP12.OLED_V1 in ESPHome
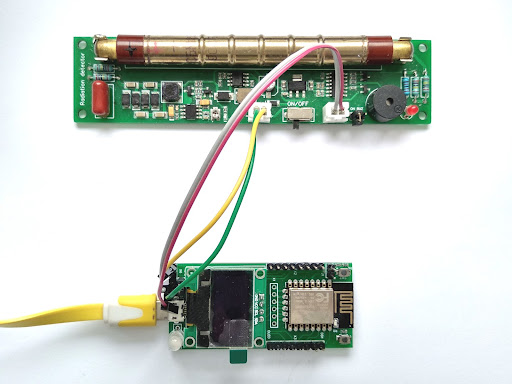
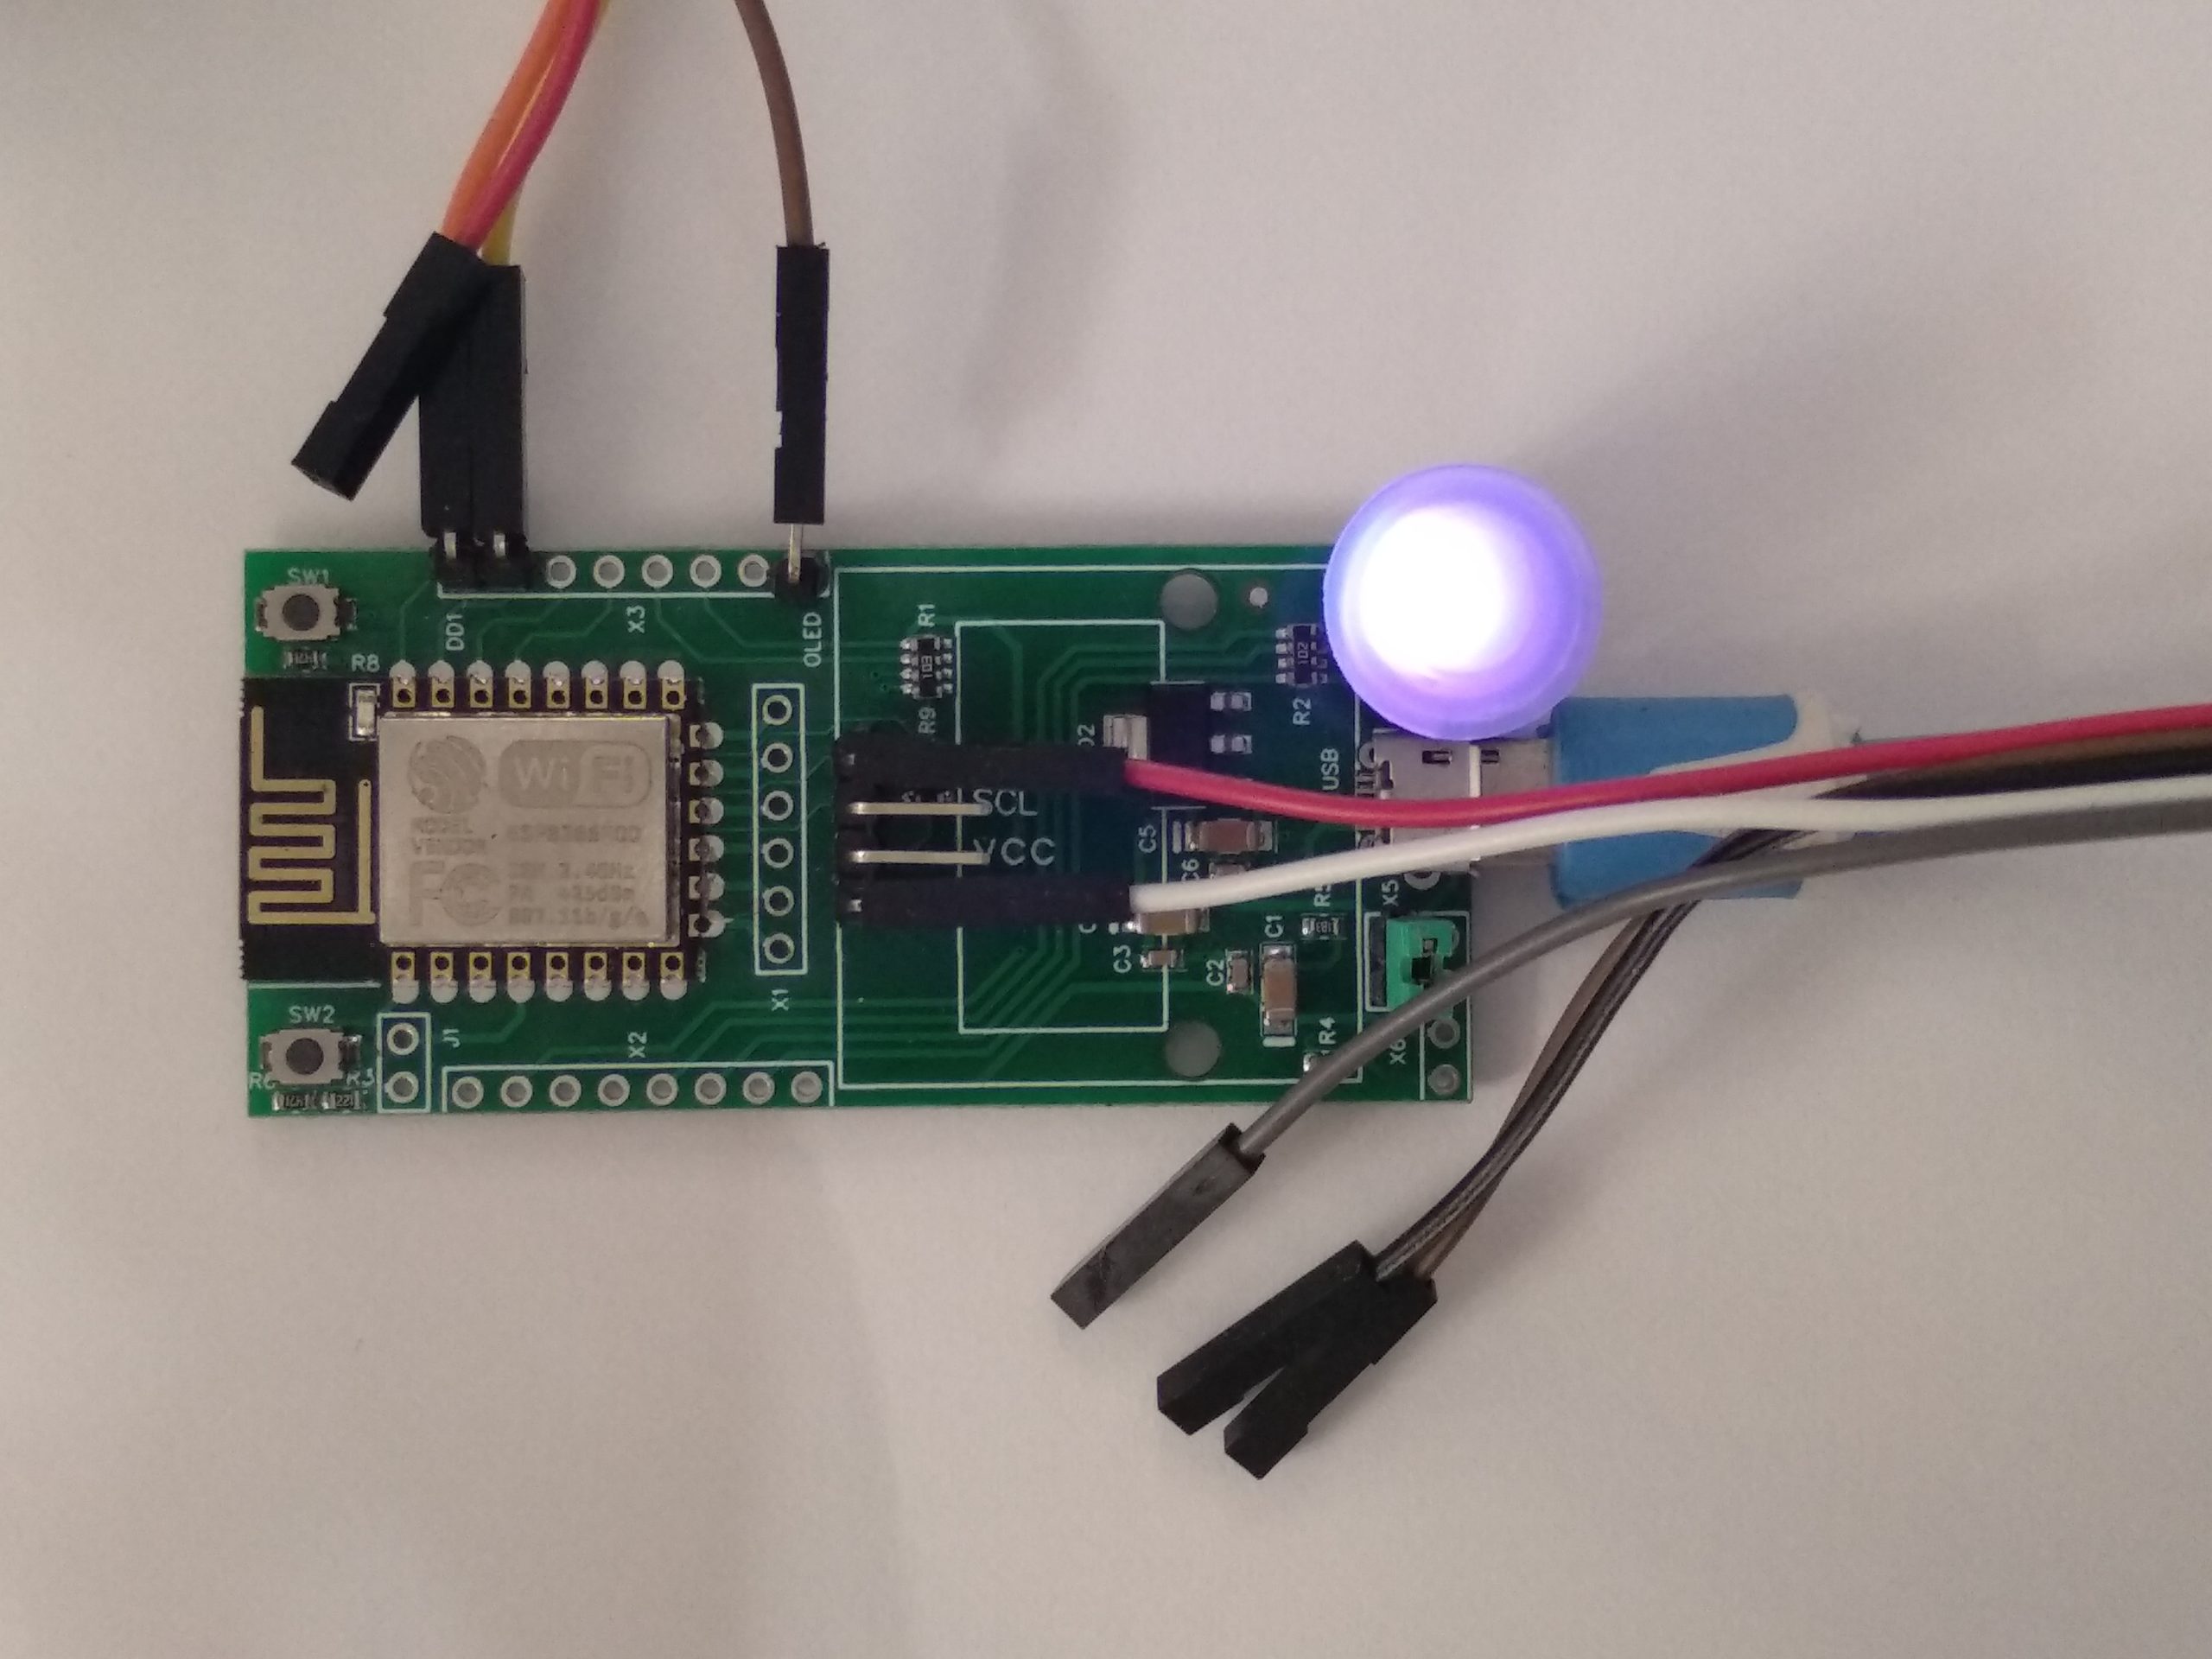
Everyone who is involved in DIY IoT projects is familiar with the LM75 temperature sensor. Termometer LM75 - it is a cheap and convenient sensor that has sufficient accuracy and…
Comments Off on LM75 thermometer: connection to ESP12.OLED_V1 in ESPHome
07.01.2024