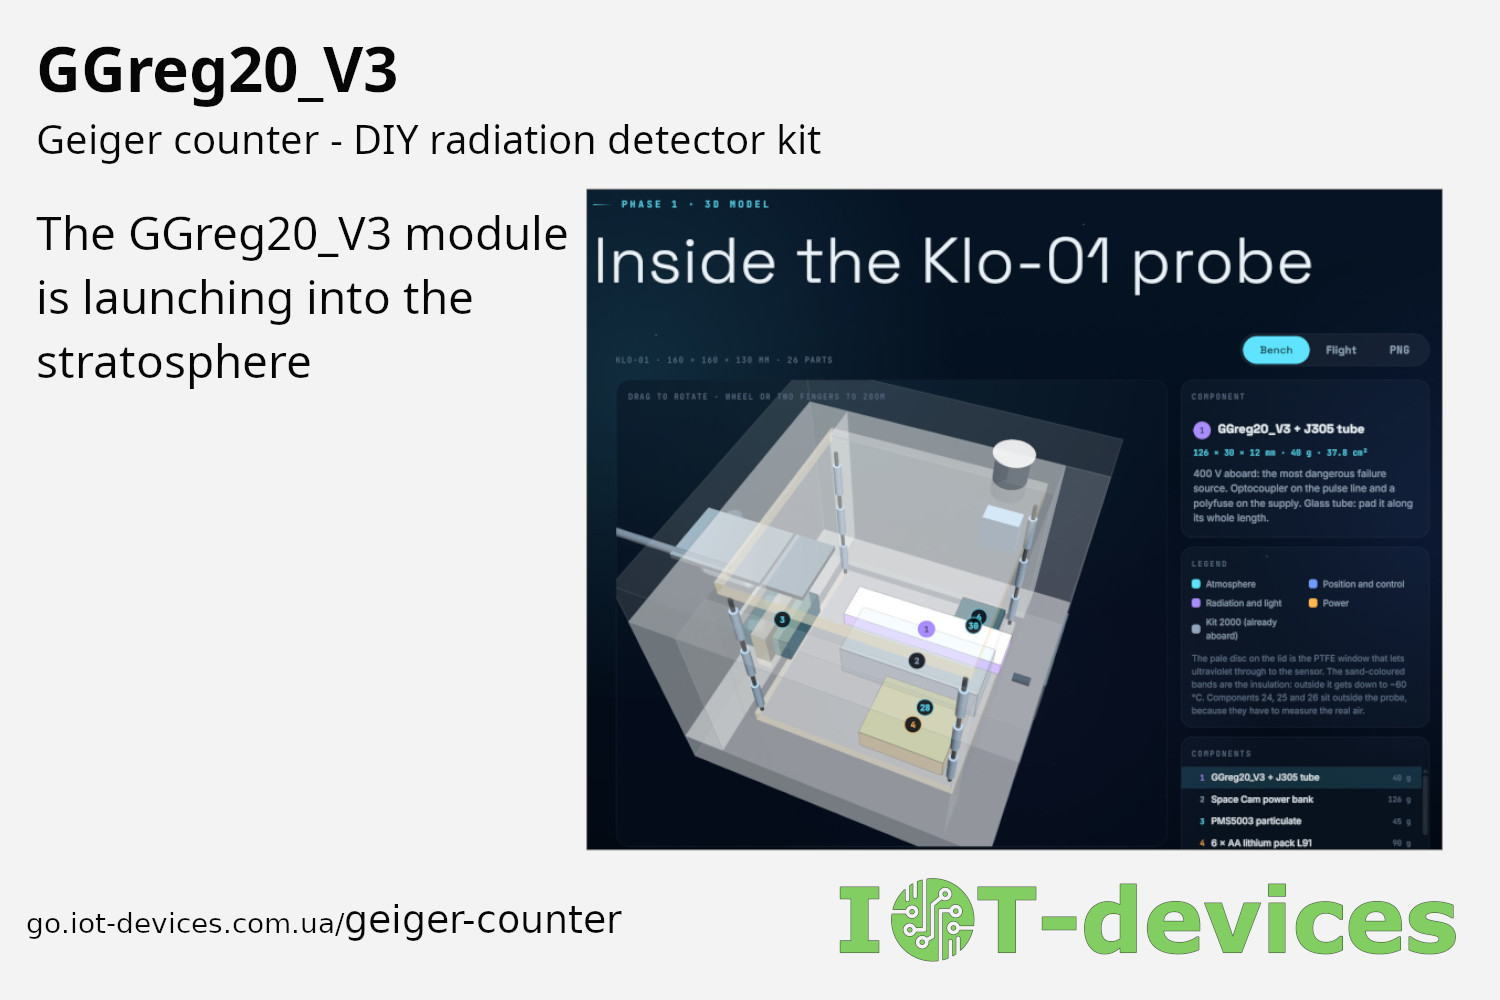
The GGreg20_V3 module is launching into the stratosphere
It looks like our GGreg20_V3 DIY Geiger counter module has a chance to join the Klo-01 stratospheric probe as part of the COMETA student educational project (Uruguay).
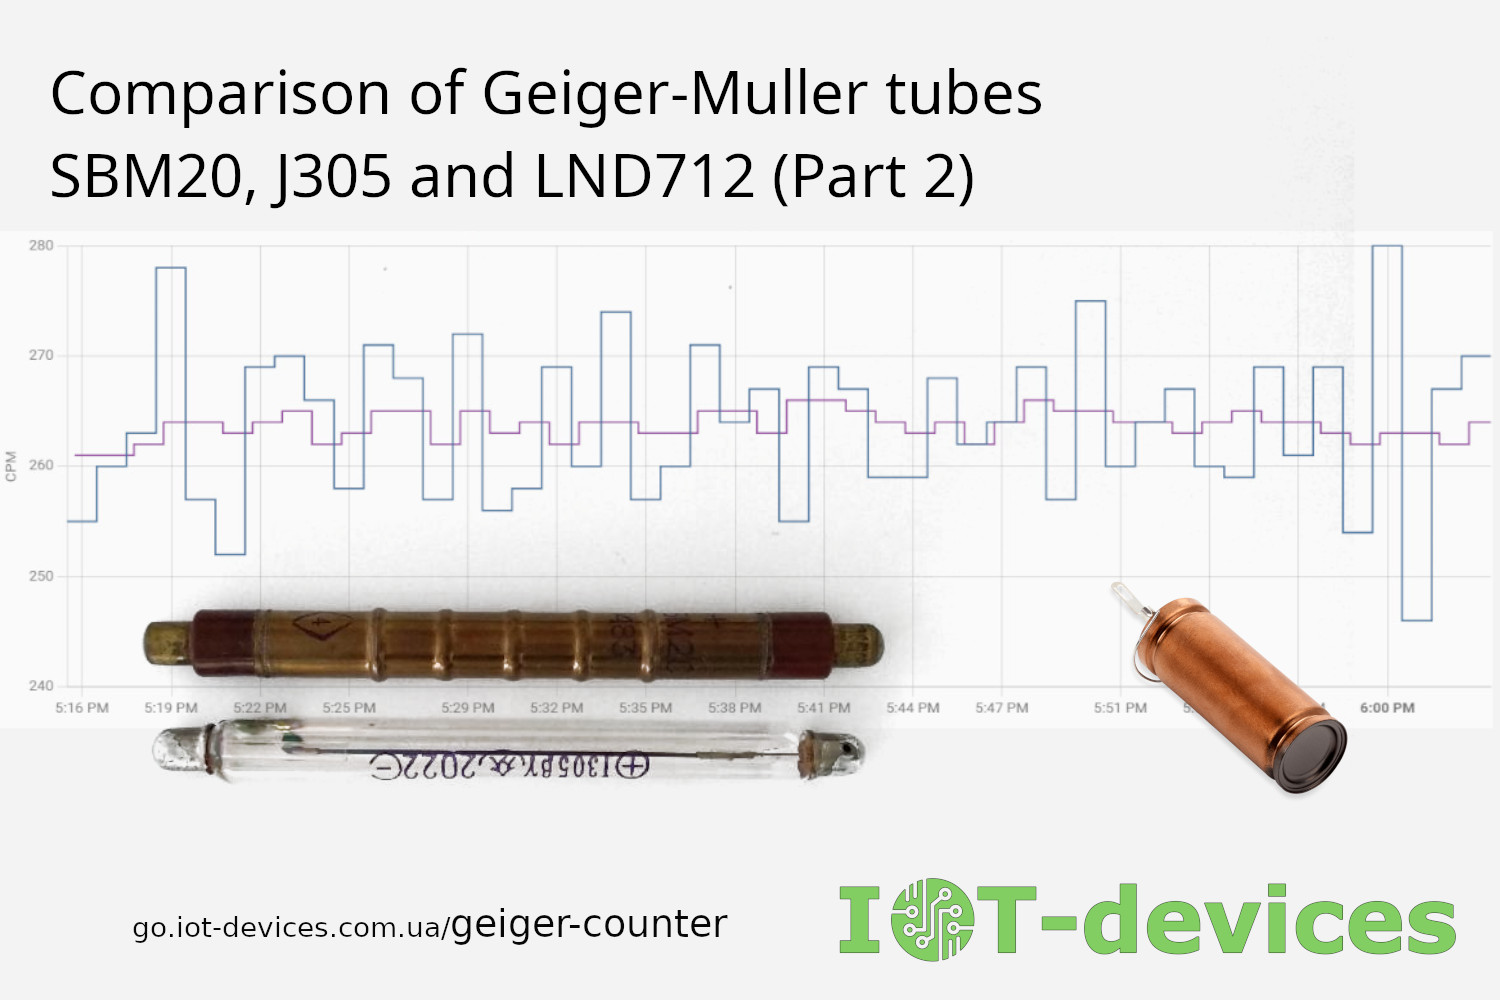
This second part is an attempt to dive into the internal geometry of the J305, SBM20, and LND712 Geiger-Müller tubes, estimate their actual effective volume and cathode area, build a mathematical model to evaluate their Dead Time, and shed light on the blind spots and myths surrounding their specifications
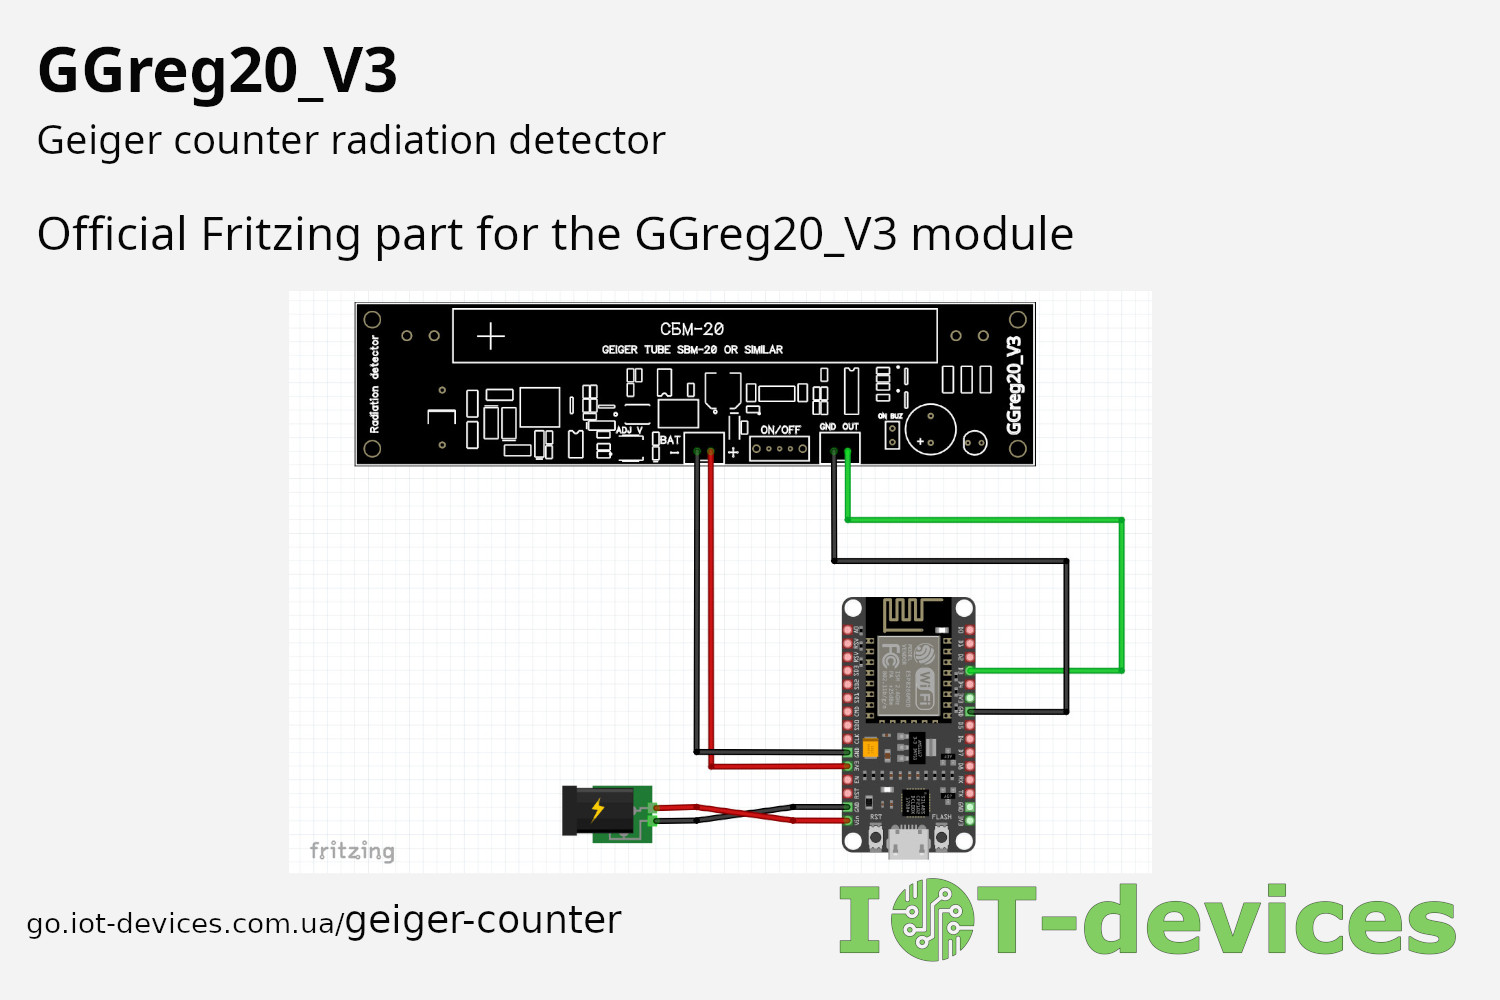
We have created a Fritzing part for the GGreg20_V3 Geiger counter module. Now Fritzing users can easily create schematics for their devices that include the GGreg20_V3.
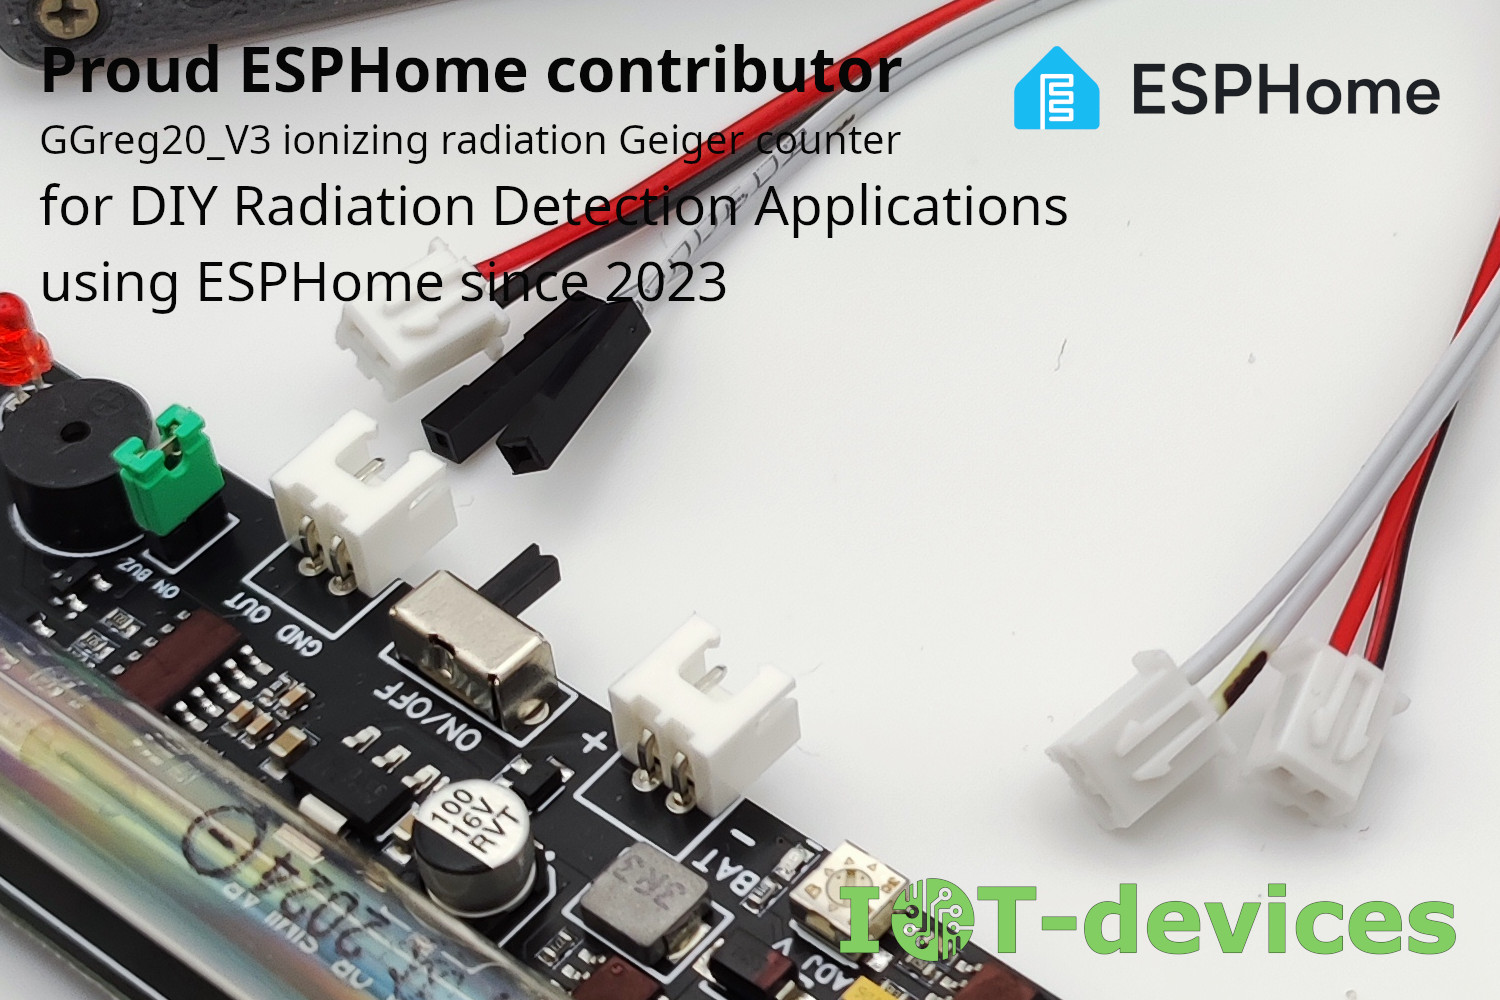
We were pleasantly surprised to discover that our company has been listed among the contributors to the ESPHome project since 2023.
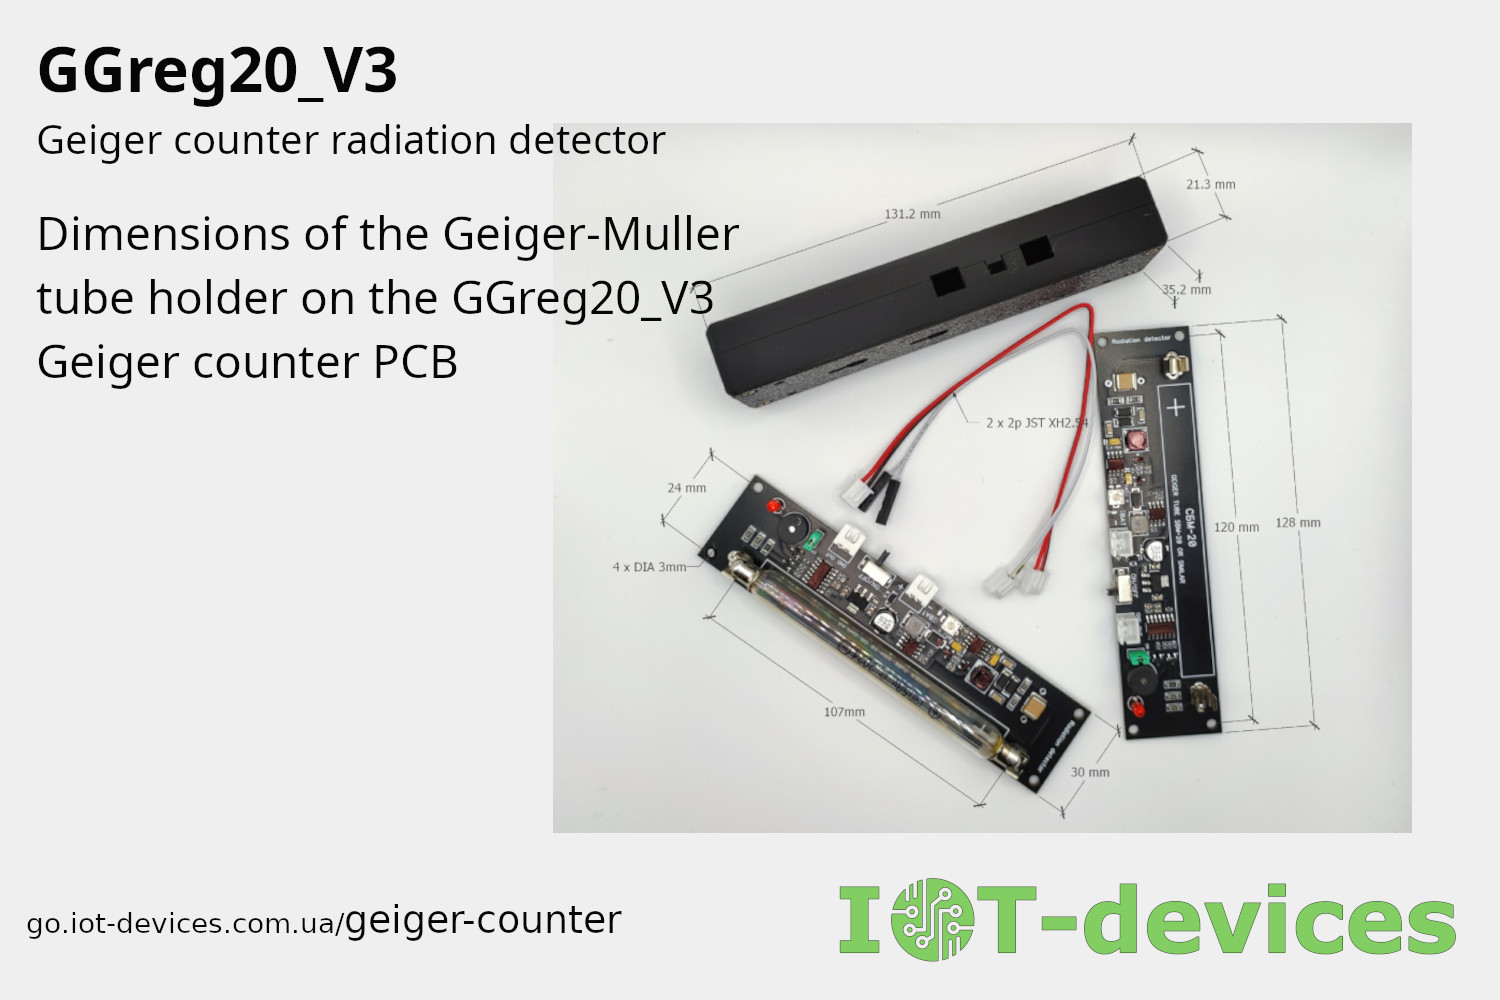
Find the exact mounting dimensions for J305 and SBM20 tubes on the GGreg20_V3 Geiger counter module. Ensure perfect compatibility for your DIY projects. Feel free to choose to buy the module with or without the tube.
може сховати лістинг у акордеон?
####### ggreg20_esp8266_esphome.yaml #####
esphome:
name: esphome_node1 # Controller Unique Name
platform: ESP8266 # Platform type you have to select when creating new yaml-config in ESP Home
board: nodemcuv2 # Controller type you have to select when creating new yaml-config in ESP Home
wifi:
ssid: "YourWiFiSSID"
password: "SSIDPassword"
# Enable fallback hotspot (captive portal) in case wifi connection fails
ap:
ssid: "Esphome Node1 Fallback Hotspot"
password: "Cpxg9hRIBU7M"
captive_portal:
# Enable logging
logger:
# Enable Home Assistant API
api:
password: "APIpassword"
ota:
password: "OTApassword"
# Just embedded test D3 (GPIO0) button on every ESP8266 Devboard
# You can press D3 button several times to simulate incoming GGreg pulses
binary_sensor:
- platform: gpio
name: "D3 Input Button"
pin:
number: 0
inverted: True
mode: INPUT_PULLUP
# Here we calc and include to the firmware a power and doze values of ionizing radiation as sensor outputs
sensor:
- platform: pulse_counter
pin: D3
unit_of_measurement: 'mkSv/Hour'
name: 'Ionizing Radiation Power'
count_mode:
rising_edge: DISABLE
falling_edge: INCREMENT
update_interval: 60s
accuracy_decimals: 3
id: my_doze_meter
filters:
- sliding_window_moving_average: # 5-minutes moving average (MA5) here
window_size: 5
send_every: 5
- multiply: 0.0054 # SBM20 tube conversion factor of pulses into mkSv/Hour
- platform: integration
name: "Total Ionizing Radiation Doze"
unit_of_measurement: "mkSv"
sensor: my_doze_meter # link entity id to the pulse_counter values above
icon: "mdi:radioactive"
accuracy_decimals: 5
time_unit: min # integrate values every next minute
filters:
- multiply: 0.00009 # obtained doze (from mkSv/hour into mkSv/minute) conversion factor: 0.0054 / 60 minutes = 0.00009; so pulses * 0.00009 = doze every next minute, mkSv.
####### END of ggreg20_esp8266_esphome.yaml #####