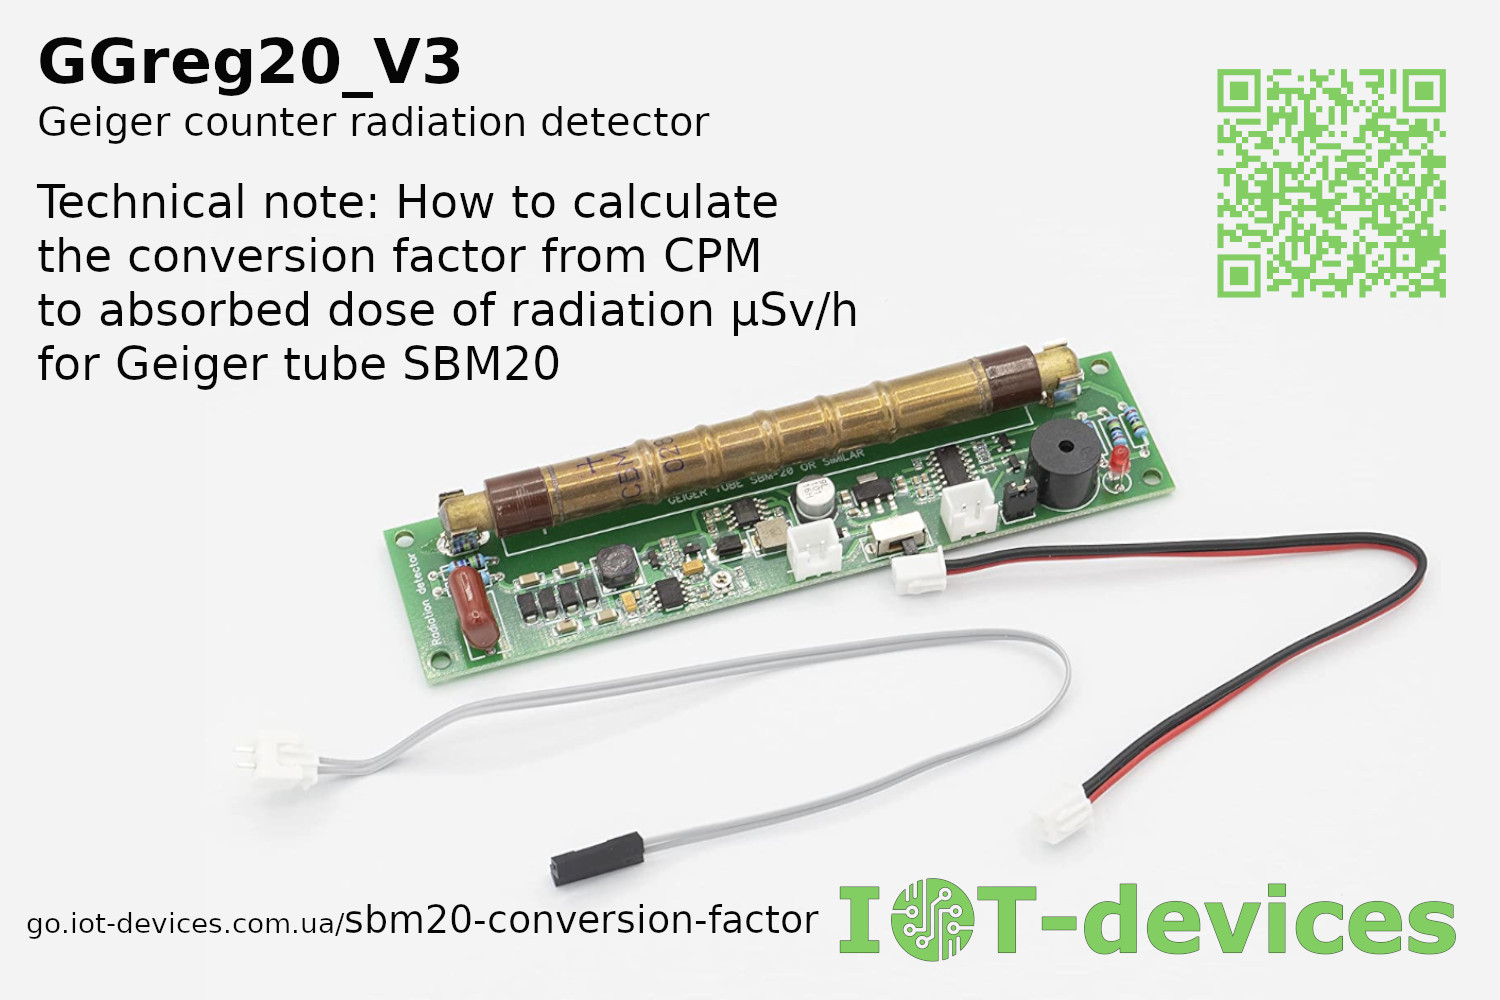
Technical note: Geiger counter at low temperatures – the work of a DIY module.
We wondered what would happen if we took our DIY Geiger counter module GGreg20_V3 and put it in a freezer with a target temperature of -23 Celsius together with the…
Testing the emulator After we've built the emulator and programmed the ESP8266, we can test it to make sure it's working correctly. Having made the physical diagram and developed and…
Geiger counter emulator: what we need To build the Geiger counter module emulator, we'll need the following parts and materials: ESP8266 #1 as the main one (MCU_A, NodeMCU module);ESP8266 #2…
Welcome to our guide on building a hardware-software Geiger counter emulator of GGreg20_V3 module based on ESP8266 This emulator can be useful for testing and tuning Geiger counters or for…
We are pleased to inform you about a new option that has been added to our module - the GGreg20_V3 radioactive particle detector. Now you can choose the J305 Geiger-Muller…
може сховати лістинг у акордеон?
####### ggreg20_esp8266_esphome.yaml #####
esphome:
name: esphome_node1 # Controller Unique Name
platform: ESP8266 # Platform type you have to select when creating new yaml-config in ESP Home
board: nodemcuv2 # Controller type you have to select when creating new yaml-config in ESP Home
wifi:
ssid: "YourWiFiSSID"
password: "SSIDPassword"
# Enable fallback hotspot (captive portal) in case wifi connection fails
ap:
ssid: "Esphome Node1 Fallback Hotspot"
password: "Cpxg9hRIBU7M"
captive_portal:
# Enable logging
logger:
# Enable Home Assistant API
api:
password: "APIpassword"
ota:
password: "OTApassword"
# Just embedded test D3 (GPIO0) button on every ESP8266 Devboard
# You can press D3 button several times to simulate incoming GGreg pulses
binary_sensor:
- platform: gpio
name: "D3 Input Button"
pin:
number: 0
inverted: True
mode: INPUT_PULLUP
# Here we calc and include to the firmware a power and doze values of ionizing radiation as sensor outputs
sensor:
- platform: pulse_counter
pin: D3
unit_of_measurement: 'mkSv/Hour'
name: 'Ionizing Radiation Power'
count_mode:
rising_edge: DISABLE
falling_edge: INCREMENT
update_interval: 60s
accuracy_decimals: 3
id: my_doze_meter
filters:
- sliding_window_moving_average: # 5-minutes moving average (MA5) here
window_size: 5
send_every: 5
- multiply: 0.0054 # SBM20 tube conversion factor of pulses into mkSv/Hour
- platform: integration
name: "Total Ionizing Radiation Doze"
unit_of_measurement: "mkSv"
sensor: my_doze_meter # link entity id to the pulse_counter values above
icon: "mdi:radioactive"
accuracy_decimals: 5
time_unit: min # integrate values every next minute
filters:
- multiply: 0.00009 # obtained doze (from mkSv/hour into mkSv/minute) conversion factor: 0.0054 / 60 minutes = 0.00009; so pulses * 0.00009 = doze every next minute, mkSv.
####### END of ggreg20_esp8266_esphome.yaml #####