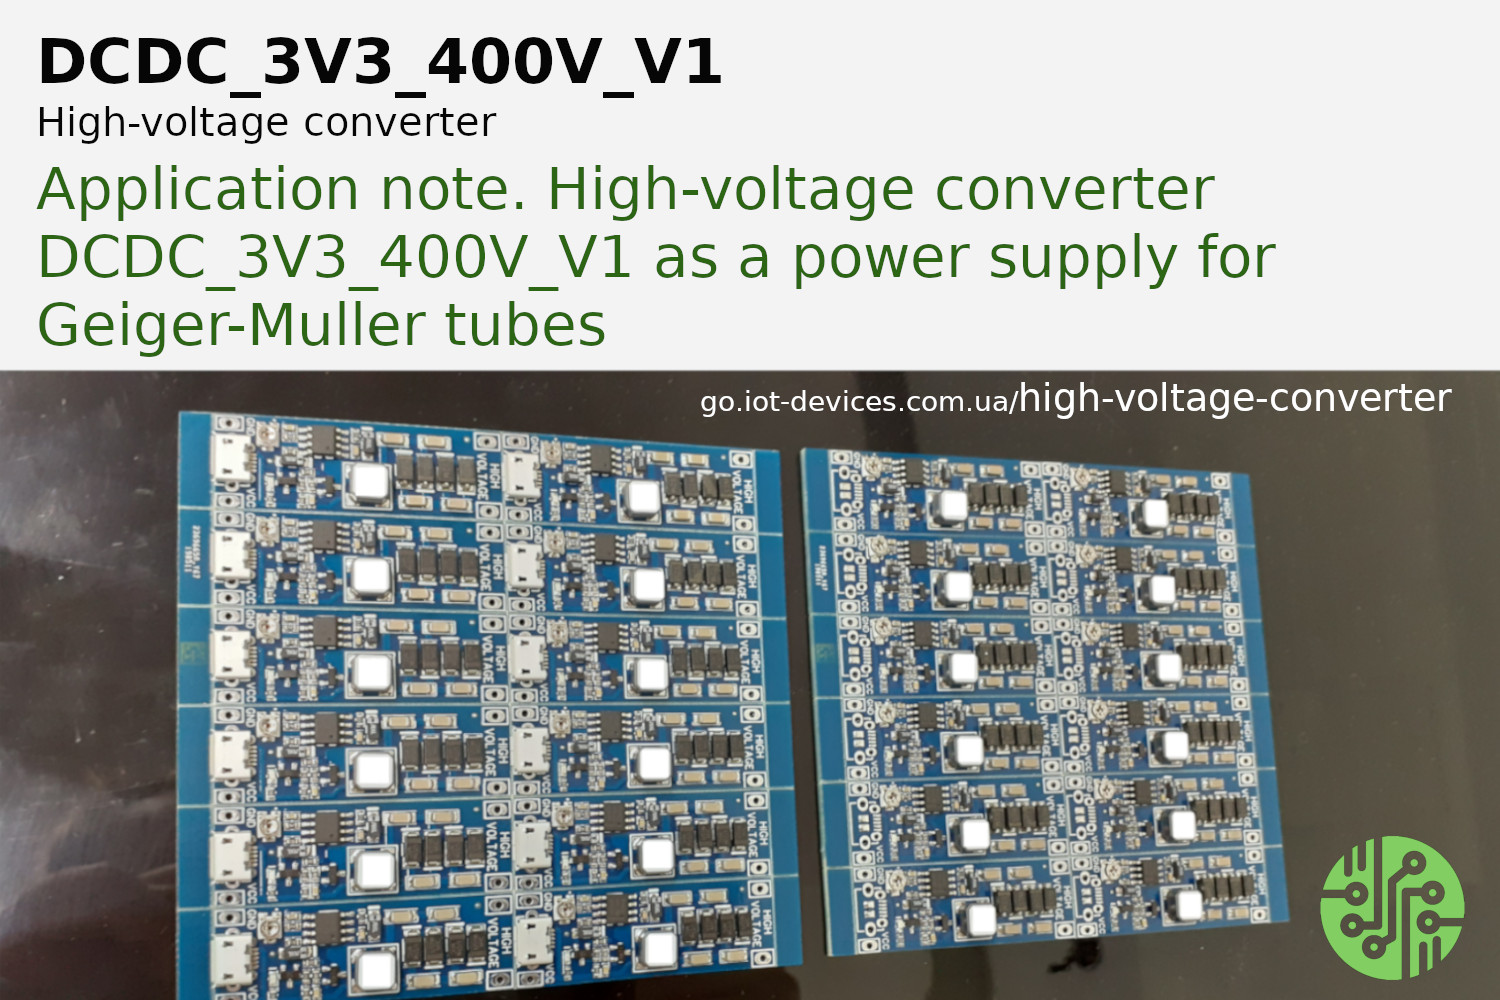
LM75 thermometer: connection to ESP12.OLED_V1 in ESPHome
Everyone who is involved in DIY IoT projects is familiar with the LM75 temperature sensor. Termometer LM75 - it is a cheap and convenient sensor that has sufficient accuracy and…
Recently, the ESPHome firmware has been changed to prevent the same controller I/O ports from being reused to create different entities. This mechanism is called Pin Reuse validation: https://esphome.io/changelog/2023.12.0.html#pin-reuse-validation These…
We have good news! For two months, we have been collecting and analyzing statistics for the pilot batch of the charity product GGreg20_ES - Epoxy souvenir Geiger counter and have…
We launch "Cyber Monday" campaign from 24.11 to 30.11 and set 10% discount when buying any of our modules on iot-devices.com.ua and Tindie and Etsy trading platforms. Pay attention to…
November 06, 2023, Kyiv, Ukraine. Dear users, customers and partners! We are pleased to announce that with the launch of Etsy Payments service in Ukraine, we immediately opened our own…
може сховати лістинг у акордеон? ####### ggreg20_esp8266_esphome.yaml ##### esphome: name: esphome_node1 # Controller Unique Name platform: ESP8266 # Platform type you have to select when creating new yaml-config in ESP Home board: nodemcuv2 # Controller type you have to select when creating new yaml-config in ESP Home wifi: ssid: "YourWiFiSSID" password: "SSIDPassword" # Enable fallback hotspot (captive portal) in case wifi connection fails ap: ssid: "Esphome Node1 Fallback Hotspot" password: "Cpxg9hRIBU7M" captive_portal: # Enable logging logger: # Enable Home Assistant API api: password: "APIpassword" ota: password: "OTApassword" # Just embedded test D3 (GPIO0) button on every ESP8266 Devboard # You can press D3 button several times to simulate incoming GGreg pulses binary_sensor: - platform: gpio name: "D3 Input Button" pin: number: 0 inverted: True mode: INPUT_PULLUP # Here we calc and include to the firmware a power and doze values of ionizing radiation as sensor outputs sensor: - platform: pulse_counter pin: D3 unit_of_measurement: 'mkSv/Hour' name: 'Ionizing Radiation Power' count_mode: rising_edge: DISABLE falling_edge: INCREMENT update_interval: 60s accuracy_decimals: 3 id: my_doze_meter filters: - sliding_window_moving_average: # 5-minutes moving average (MA5) here window_size: 5 send_every: 5 - multiply: 0.0054 # SBM20 tube conversion factor of pulses into mkSv/Hour - platform: integration name: "Total Ionizing Radiation Doze" unit_of_measurement: "mkSv" sensor: my_doze_meter # link entity id to the pulse_counter values above icon: "mdi:radioactive" accuracy_decimals: 5 time_unit: min # integrate values every next minute filters: - multiply: 0.00009 # obtained doze (from mkSv/hour into mkSv/minute) conversion factor: 0.0054 / 60 minutes = 0.00009; so pulses * 0.00009 = doze every next minute, mkSv. ####### END of ggreg20_esp8266_esphome.yaml #####