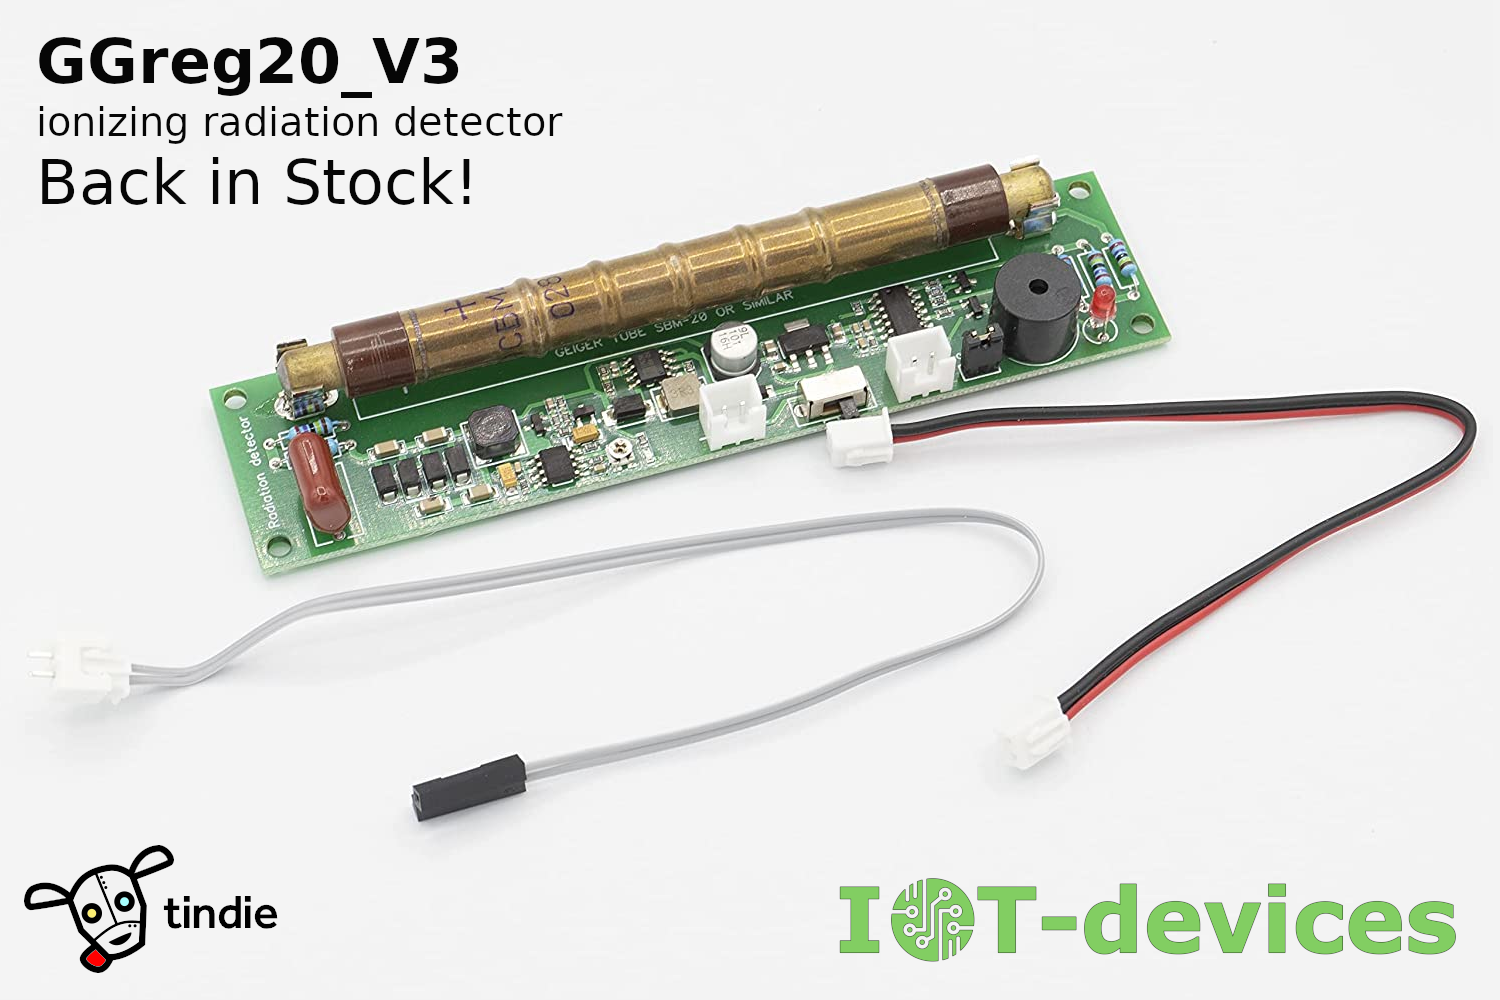
Technical note on voltage level matching for GGreg20_V3 and 5V MCU
To the attention of owners of controllers with a voltage level of 5V on GPIO (such as Arduino) to which GGreg20_V3 with 3V3 logic is connected. The GGreg20_V3 output supports…
We decided to contribute to the development of open source software for the Arduino platform and developed a training example in the WOKWI simulator for our popular GGreg20_V3 ionizing radiation…
IoT-devices reports that the company's GGreg20_V3 ionizing radiation detector module has been added to the official list of peripherals supported by Tasmota firmware with a corresponding reference to the driver…
The example repository for the GGreg20_V3 ionizing radiation detector module has been included in the list of the top-100 open source projects ESPHome / Home Assistant, curated by Awesome Open…
The IoT-devices team developed, tested and made available on GitHub a ready-to-use GGreg20_V3 driver for ESP32 with Tasmota firmware and Berry scripting language. The driver allows you to receive pulses…
може сховати лістинг у акордеон?
####### ggreg20_esp8266_esphome.yaml #####
esphome:
  name: esphome_node1 # Controller Unique Name
  platform: ESP8266 # Platform type you have to select when creating new yaml-config in ESP Home
  board: nodemcuv2 # Controller type you have to select when creating new yaml-config in ESP Home
wifi:
  ssid: "YourWiFiSSID"
  password: "SSIDPassword"
  # Enable fallback hotspot (captive portal) in case wifi connection fails
  ap:
    ssid: "Esphome Node1 Fallback Hotspot"
    password: "Cpxg9hRIBU7M"
captive_portal:
# Enable logging
logger:
# Enable Home Assistant API
api:
  password: "APIpassword"
ota:
  password: "OTApassword"
# Just embedded test D3 (GPIO0) button on every ESP8266 Devboard
# You can press D3 button several times to simulate incoming GGreg pulses
binary_sensor:
  - platform: gpio
    name: "D3 Input Button"
    pin:
      number: 0
      inverted: True
      mode: INPUT_PULLUP
# Here we calc and include to the firmware a power and doze values of ionizing radiation as sensor outputs
sensor:
- platform: pulse_counter
  pin: D3
  unit_of_measurement: 'mkSv/Hour'
  name: 'Ionizing Radiation Power'
  count_mode: 
    rising_edge: DISABLE
    falling_edge: INCREMENT
  update_interval: 60s
  accuracy_decimals: 3
  id: my_doze_meter
  filters:
    - sliding_window_moving_average: # 5-minutes moving average (MA5) here
        window_size: 5
        send_every: 5      
    - multiply: 0.0054 # SBM20 tube conversion factor of pulses into mkSv/Hour 
- platform: integration
  name: "Total Ionizing Radiation Doze"
  unit_of_measurement: "mkSv"
  sensor: my_doze_meter # link entity id to the pulse_counter values above
  icon: "mdi:radioactive"
  accuracy_decimals: 5
  time_unit: min # integrate values every next minute
  filters:
    - multiply: 0.00009 # obtained doze (from mkSv/hour into mkSv/minute) conversion factor: 0.0054 / 60 minutes = 0.00009; so pulses * 0.00009 = doze every next minute, mkSv.
####### END of ggreg20_esp8266_esphome.yaml #####