Building a BLE-Enabled GGreg20_V3 Geiger Counter – Part 1: ESP32 BLE Server with ESPHome Firmware
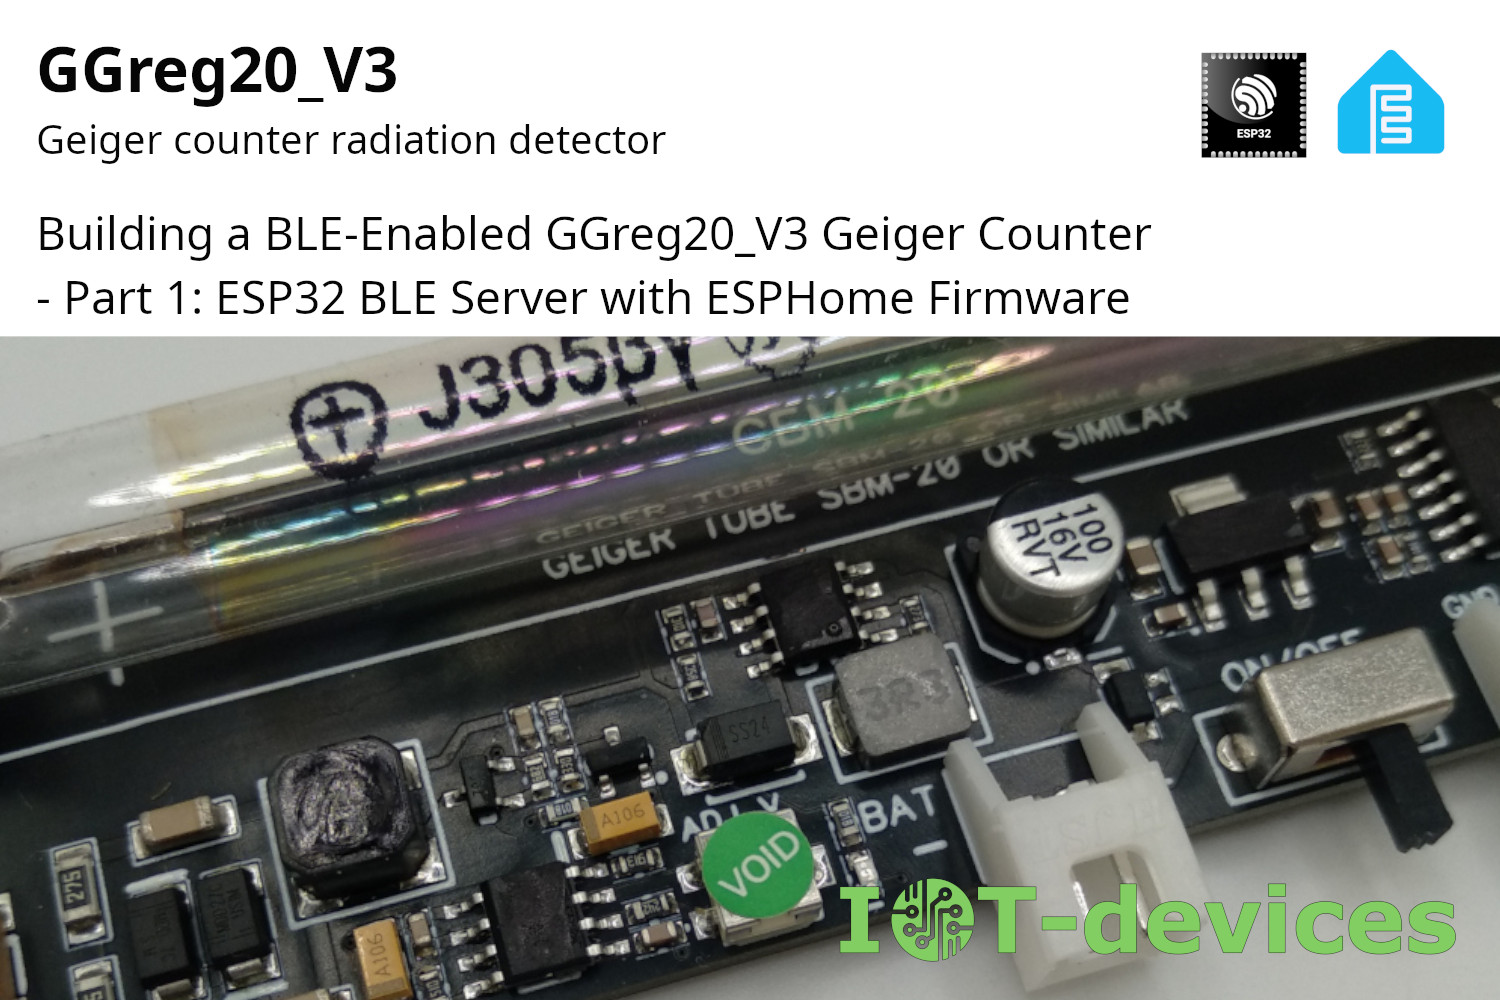
Here's an example for the GGreg20_V3, sending radiation levels right to your smartphone app using BLE (Bluetooth Low Energy)! This part dives into the first piece of the project: setting up the ESP32 as a BLE Server with the GGreg20_V3 as a sensor.
0 Comments
18.06.2025