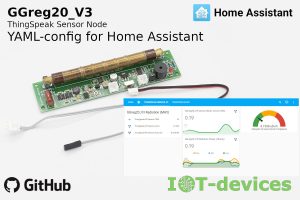
If you have a controller with a GGreg20_V3 radiation detector module that periodically sends data to the ThingSpeak server, you can also easily connect it to your Home Assistant server as well. In this publication we will look at why this might be necessary and how to do it.
In this publication, we provide examples on two modules manufactured by IoT-devices LLC:
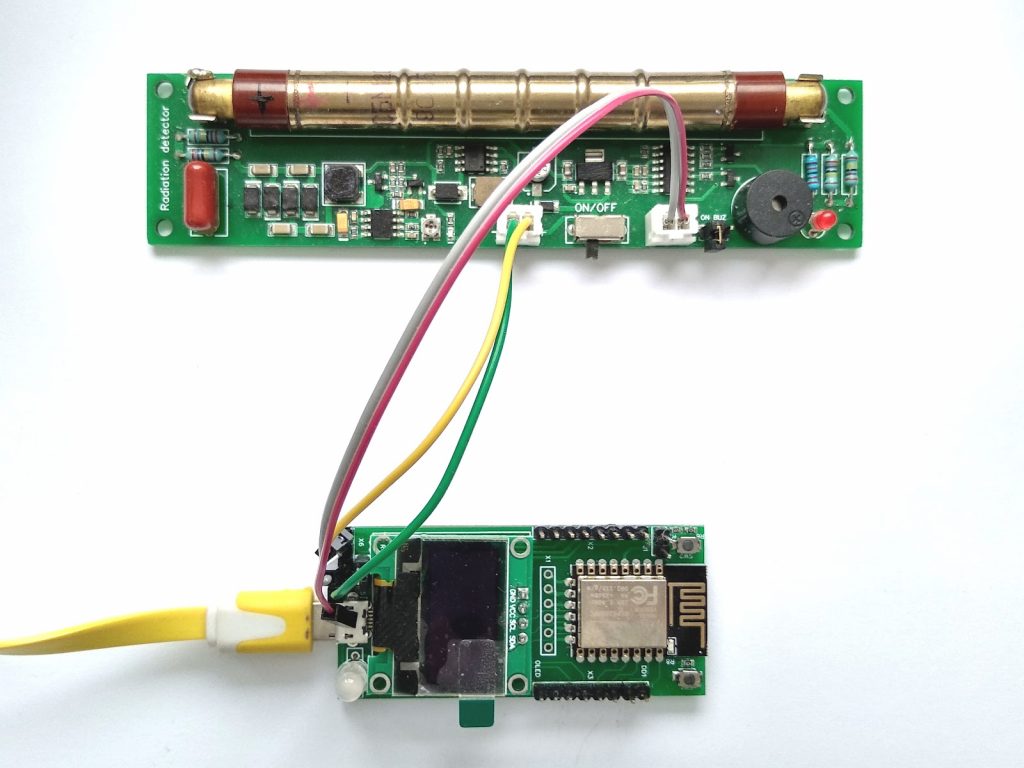
- ESP12.OLED controller module with ESP8266;
- GGreg20_V3 ionizing radiation detector module.
This is our ESP8266 based geiger counter device for DIY
As an example of a public ThingSpeak channel, here is our own demo channel that we recently created to measure radiation in the Kyiv region.

Note: Please note that in this way you can connect to the Home Assistant server any controller with any sensor that is already configured to send indicators to the ThingSpeak cloud. In this article we provide examples on devices from our production.
So, in order to conduct experiments with us and implement the examples of this article, you need to have
- ESP8266-based controller, like ours, or any other with REST (HTTP POST/GET) support;
- GGreg20_V3 module, or any other sensor;
- configured public ThingSpeak channel : your own (to make changes), or ours (read only, as an example);
- software code (in our case, it is a Lua script for NodeMCU firmware) that sends data from the controller to the ThingSpeak cloud;
- Home Assistant server with administrator access.
So, we have an ESP12.OLED module with NodeMCU firmware and developed Lua code and a GGreg20_V3 sensor connected to it, which already works with the ThingSpeak service. We really don’t want to make any changes to it specifically for Home Assistant. In addition, our sensor is already connected to Twitter via ThingSpeak as a demo sensor node. as a demonstration sensor node. Therefore it’s not our plan to interfere with its operation. But we also want to get measurements from it to our Home Assistant server. Moreover, it could be a neighbor’s sensor that we can also use as a data source for our Home Assistant. That’s why we decided to take advantage of the available tools and solve all tasks at the same time with a minimum of effort.
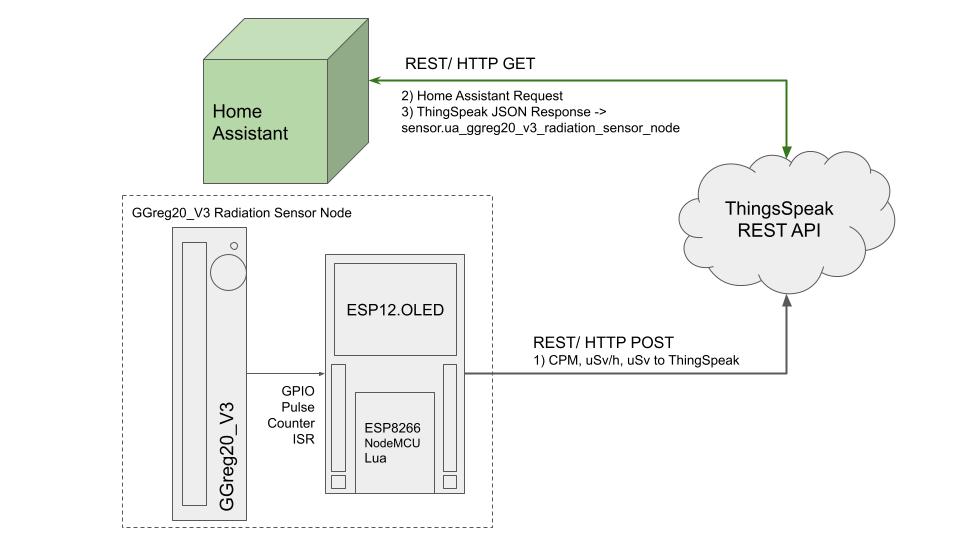
Information flows
So, on the one hand, we have a functioning sensor that is already transmitting measurement data to ThingSpeak, and which we cannot or do not want to interfere with. On the other hand, we have the Home Assistant server to which we want to connect this sensor.
This can be done thanks to the possibilities provided by the ThingSpeak service. A diagram of the data traffic is shown in the following Fig.
Our demo channel for the GGreg20_V3 module on ThingSpeak runs in constant mode and looks like this:
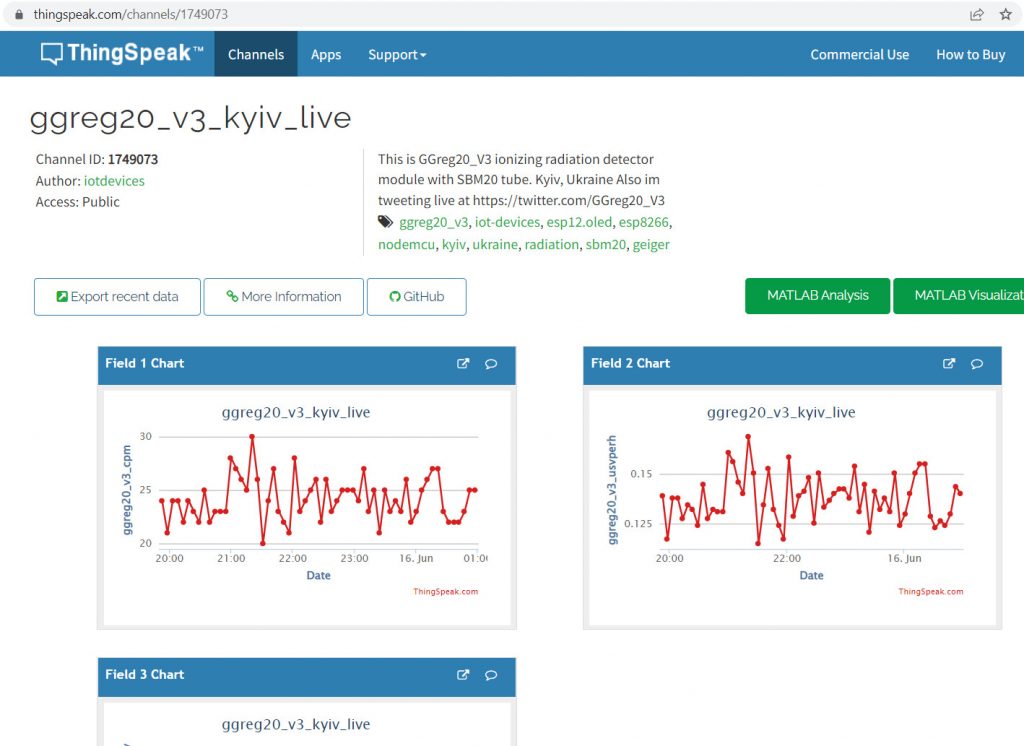
The address of this channel is: https://thingspeak.com/channels/1749073
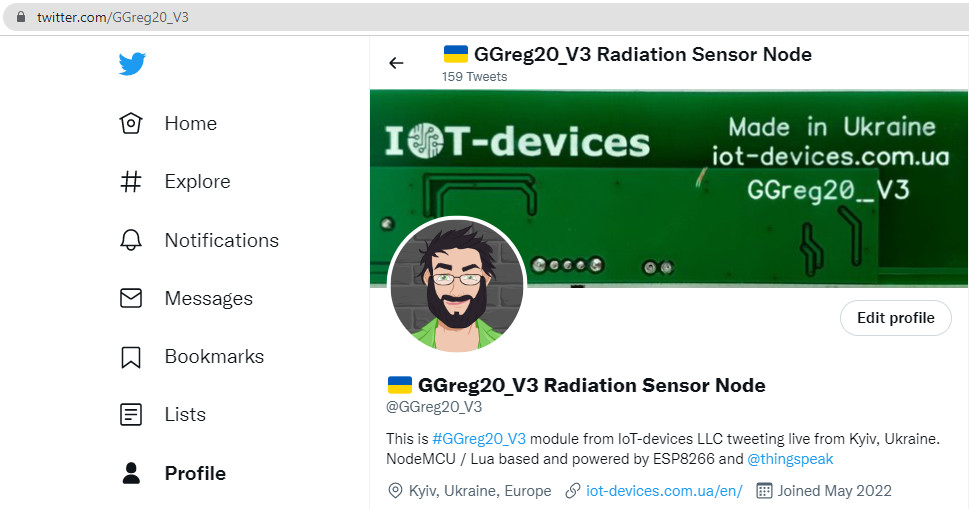
In addition to this channel, you can view and subscribe to the tweets of our demo module on Twitter at the link: https://twitter.com/GGreg20_V3
We also recommend reading the useful sections of our website on this topic:
Implementing the task in Home Assistant
The Home Assistant server has all the necessary mechanisms and tools to implement our task. The connection of the virtual sensor to the data in the cloud is solved in a few configuration lines in the server file /config/configuration.yaml:
#YAML
  - platform: rest
    name: UA GGreg20_V3 Radiation Sensor Node
    resource: https://api.thingspeak.com/channels/1749073/fields/2.json?results=1
    scan_interval: 300 # check every 5 minutes
    unit_of_measurement: uSv/h
    value_template: '{{ value_json.feeds.0.field2 }}'
    headers:
      Content-Type: application/json
#YAML
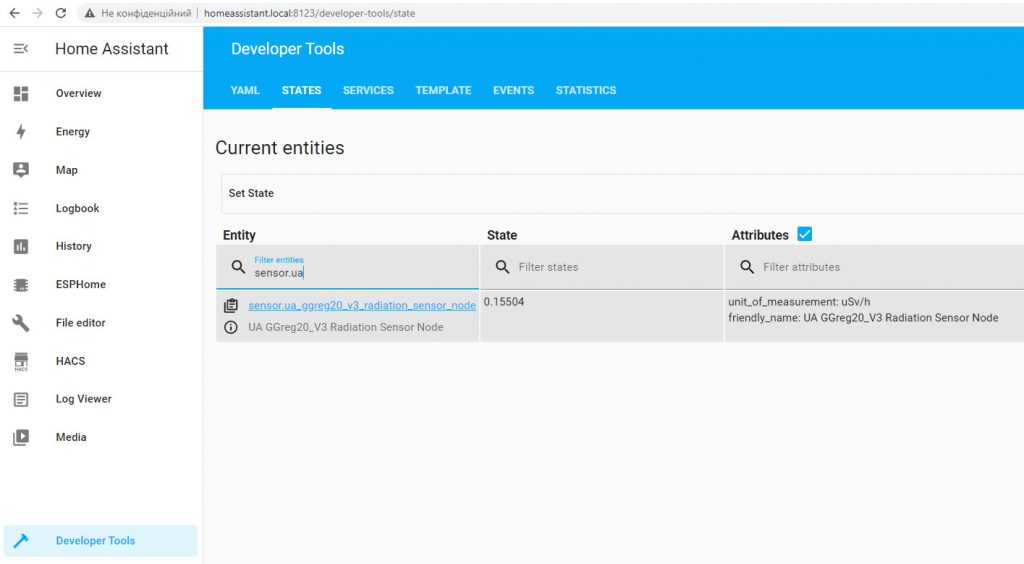
Results
After adding such a piece of configuration and restarting the server, we get a new sensor in Home Assistant. The following figure shows screenshots of the obtained results:
Widgets we created to view sensor data in Home Assistant:
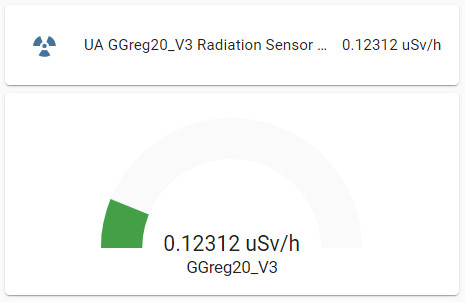
Once we have a new sensor at the Home Assistant level, we can use it as a real (physical) sensor and perform the following tasks with it:
- implement automation scenarios,
- create widgets,
- notify about radiation levels beyond thresholds,
- use values from the sensor as input data for other devices connected to Home Assistant, etc.
We would also like to mention that Home Assistant has not only an outstanding and powerful web browser application, but also a fully functional and user-friendly application for Android/iOS smartphones. Home Assistant, through the services of Nabu Casa, also allows users to access the full functionality of the server remotely via web and mobile app from anywhere with an internet connection.
Conclusions
As we have just seen, sometimes there are situations where it is more efficient to create a virtual sensor than to make changes to a real sensor already working for a specific task.
In our case we easily connected a completely non-standard controller to Home Assistant (NodeMCU firmware with Lua) with the non-standard radiation detector module GGreg20_V3. Neither of these devices in this configuration is supported and recognised by the server automatically, but thanks to REST support and the existence of the ThingSpeak service we were able to connect the detector even easier and faster than we would have connected it in the standard way via the ESPHome firmware.
And most importantly, by doing this we have not made any changes to the sensor, which is already programmed and runs in Lua.
Just look at the integration challenges we were able to solve:
- the programming language we know and prefer is incompatible with Home Assistant;
- we want to have a radiation detector in Home Assistant so that we can access its data through good widgets in the app and have automation scripts with notifications to the smartphone;
- we don’t want to remake the radiation detector in ThingSpeak.
We solved all these issues thanks to the REST (HTTP) protocol, ThingSpeak service and Home Assistant server. Thanks to their developers.
That’s all. Good luck!
IoT-devices, LLC