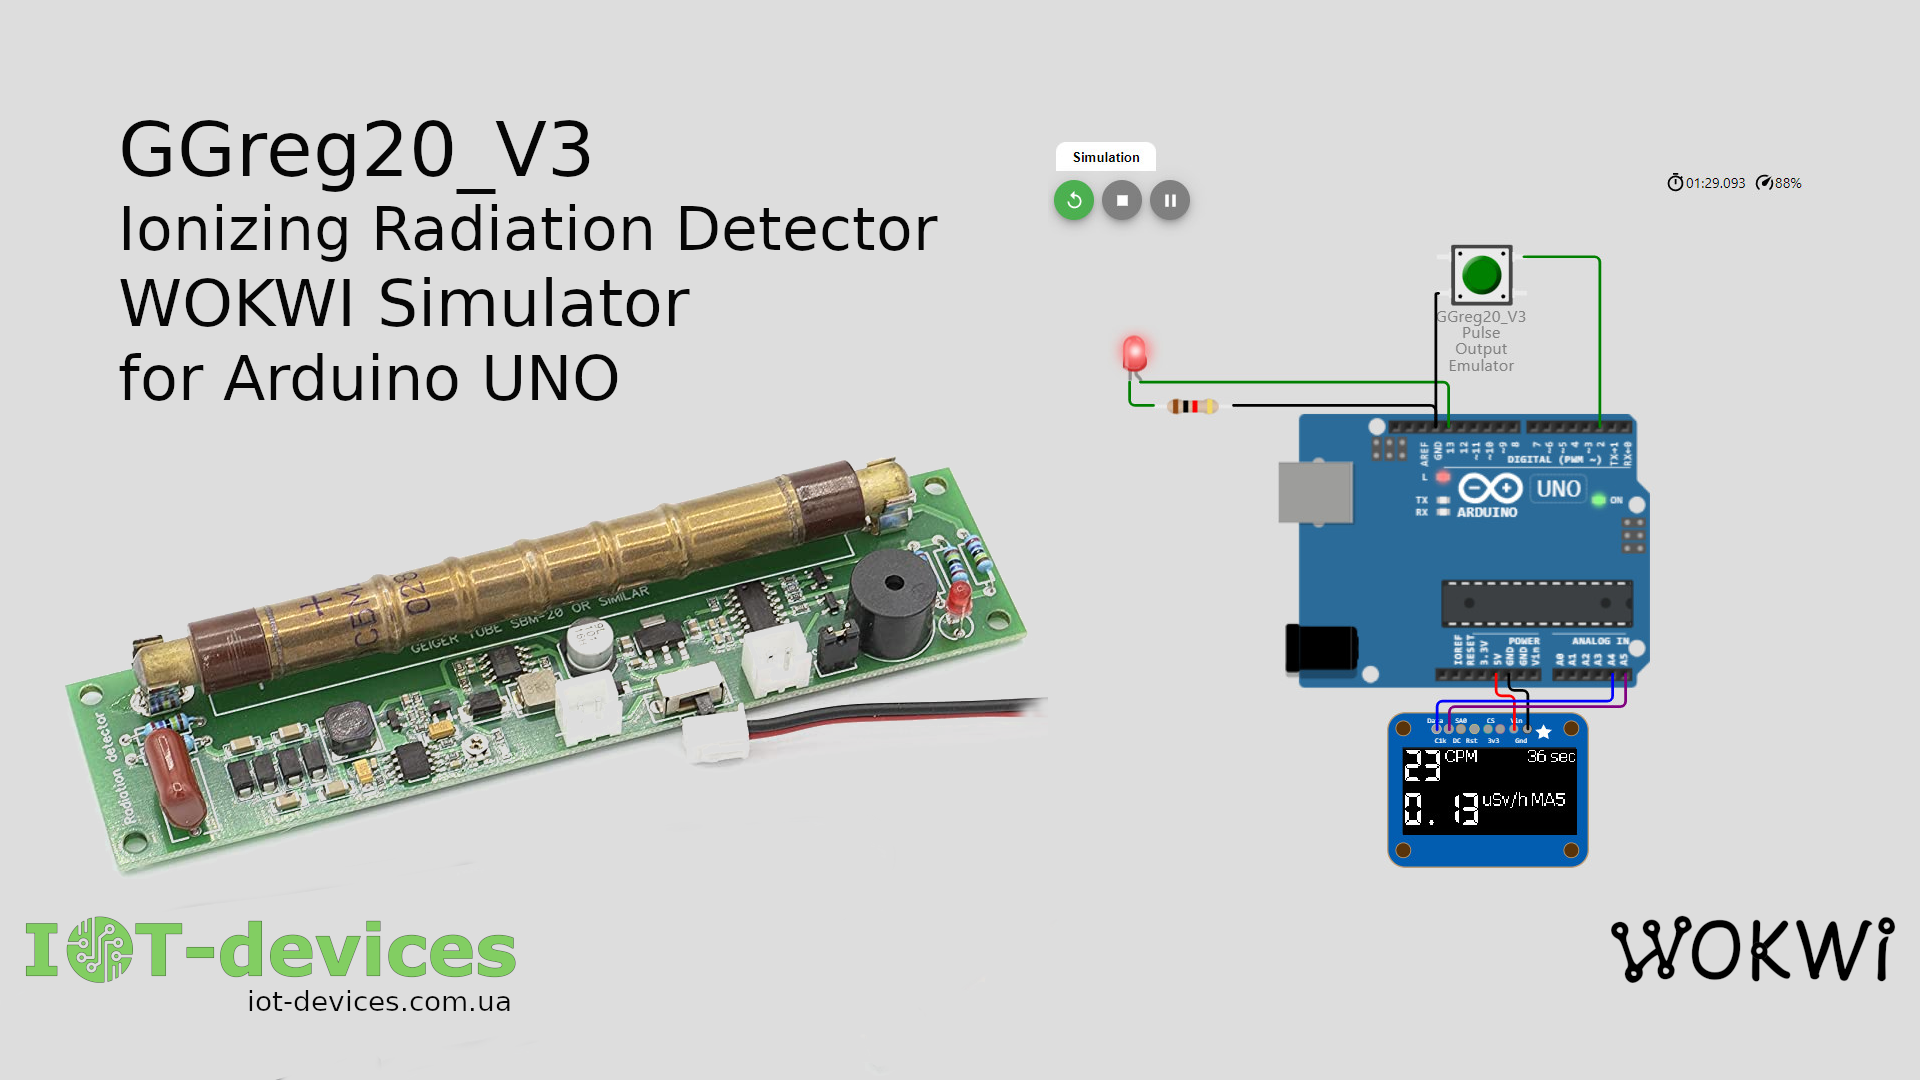
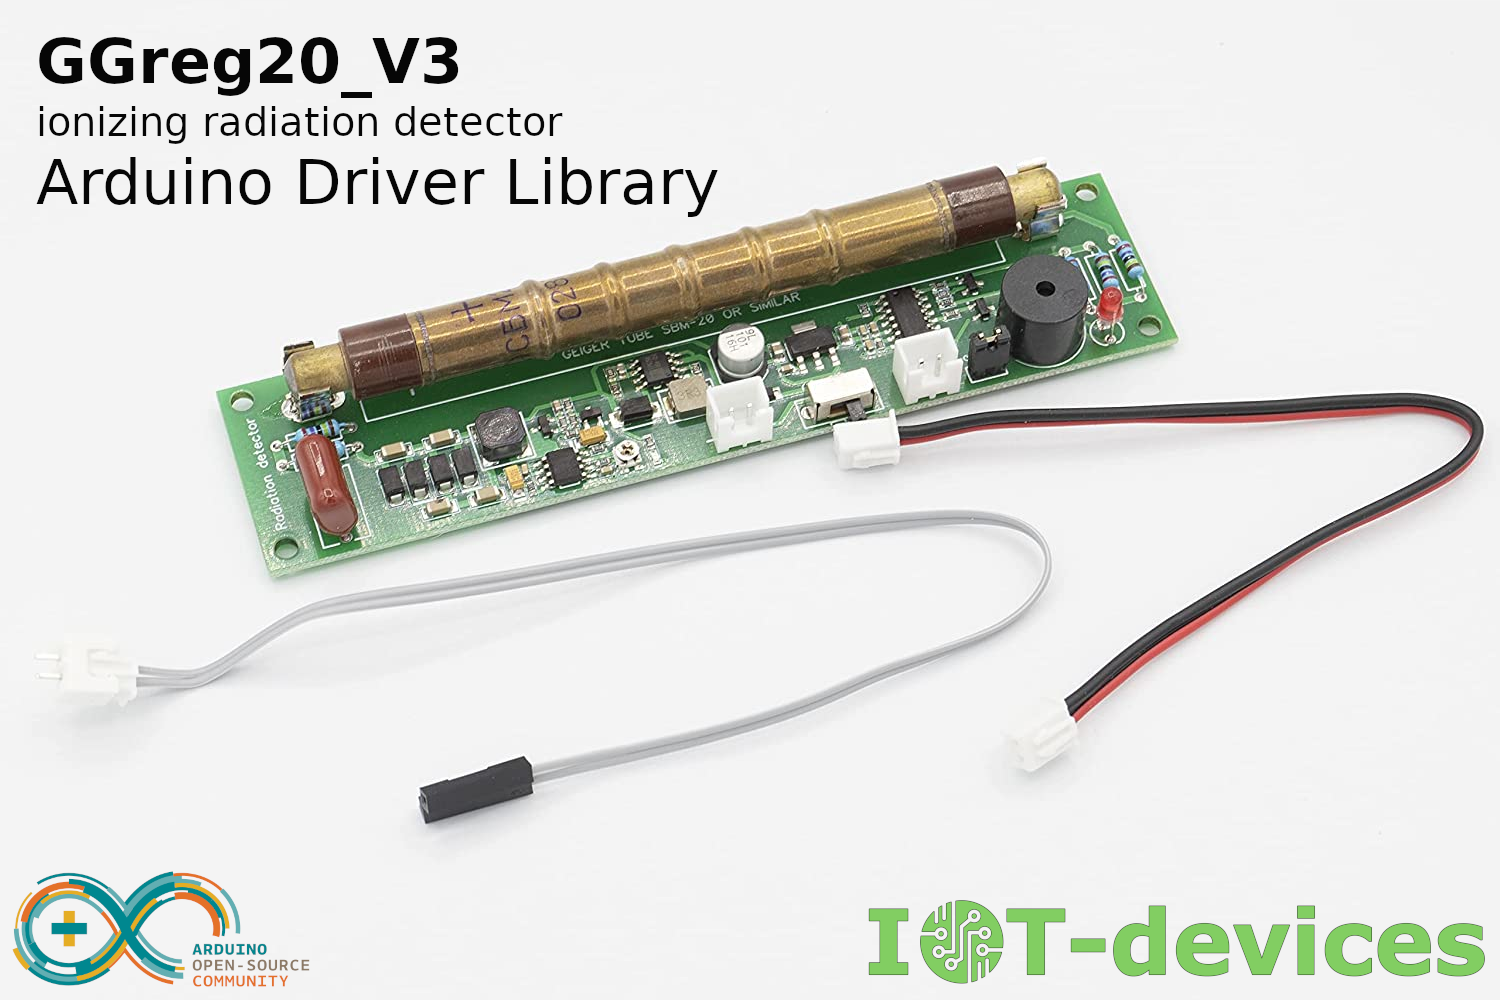
ESP32 Tasmota Firmware driver for GGreg20_V3
The IoT-devices team developed, tested and made available on GitHub a ready-to-use GGreg20_V3 driver for ESP32 with Tasmota firmware and Berry scripting language. The driver allows you to receive pulses…
Information for those who planned to buy our popular module GGreg20_V3 but didn't want to wait long for delivery. For the upcoming Christmas holidays we have added on Tindie marketplace…
This year, the education sector has faced many challenges in the context of COVID-19. What will help to cope with them: standardization of learning processes or their flexibility? In March,…
Here are some tips if you are new to smart home devices but want to try something. ( The New York Times ) Today, what we call a smart home…
KYIV, Ukraine, June 28, 2021, “IoT-devices” is a Ukrainian privately held firm that develops and manufactures its own ecosystem of electronic modules for building smart devices in the field of…
може сховати лістинг у акордеон?
####### ggreg20_esp8266_esphome.yaml #####
esphome:
name: esphome_node1 # Controller Unique Name
platform: ESP8266 # Platform type you have to select when creating new yaml-config in ESP Home
board: nodemcuv2 # Controller type you have to select when creating new yaml-config in ESP Home
wifi:
ssid: "YourWiFiSSID"
password: "SSIDPassword"
# Enable fallback hotspot (captive portal) in case wifi connection fails
ap:
ssid: "Esphome Node1 Fallback Hotspot"
password: "Cpxg9hRIBU7M"
captive_portal:
# Enable logging
logger:
# Enable Home Assistant API
api:
password: "APIpassword"
ota:
password: "OTApassword"
# Just embedded test D3 (GPIO0) button on every ESP8266 Devboard
# You can press D3 button several times to simulate incoming GGreg pulses
binary_sensor:
- platform: gpio
name: "D3 Input Button"
pin:
number: 0
inverted: True
mode: INPUT_PULLUP
# Here we calc and include to the firmware a power and doze values of ionizing radiation as sensor outputs
sensor:
- platform: pulse_counter
pin: D3
unit_of_measurement: 'mkSv/Hour'
name: 'Ionizing Radiation Power'
count_mode:
rising_edge: DISABLE
falling_edge: INCREMENT
update_interval: 60s
accuracy_decimals: 3
id: my_doze_meter
filters:
- sliding_window_moving_average: # 5-minutes moving average (MA5) here
window_size: 5
send_every: 5
- multiply: 0.0054 # SBM20 tube conversion factor of pulses into mkSv/Hour
- platform: integration
name: "Total Ionizing Radiation Doze"
unit_of_measurement: "mkSv"
sensor: my_doze_meter # link entity id to the pulse_counter values above
icon: "mdi:radioactive"
accuracy_decimals: 5
time_unit: min # integrate values every next minute
filters:
- multiply: 0.00009 # obtained doze (from mkSv/hour into mkSv/minute) conversion factor: 0.0054 / 60 minutes = 0.00009; so pulses * 0.00009 = doze every next minute, mkSv.
####### END of ggreg20_esp8266_esphome.yaml #####